How To Expose Both Sides Of Your 35mm Film (EBS)
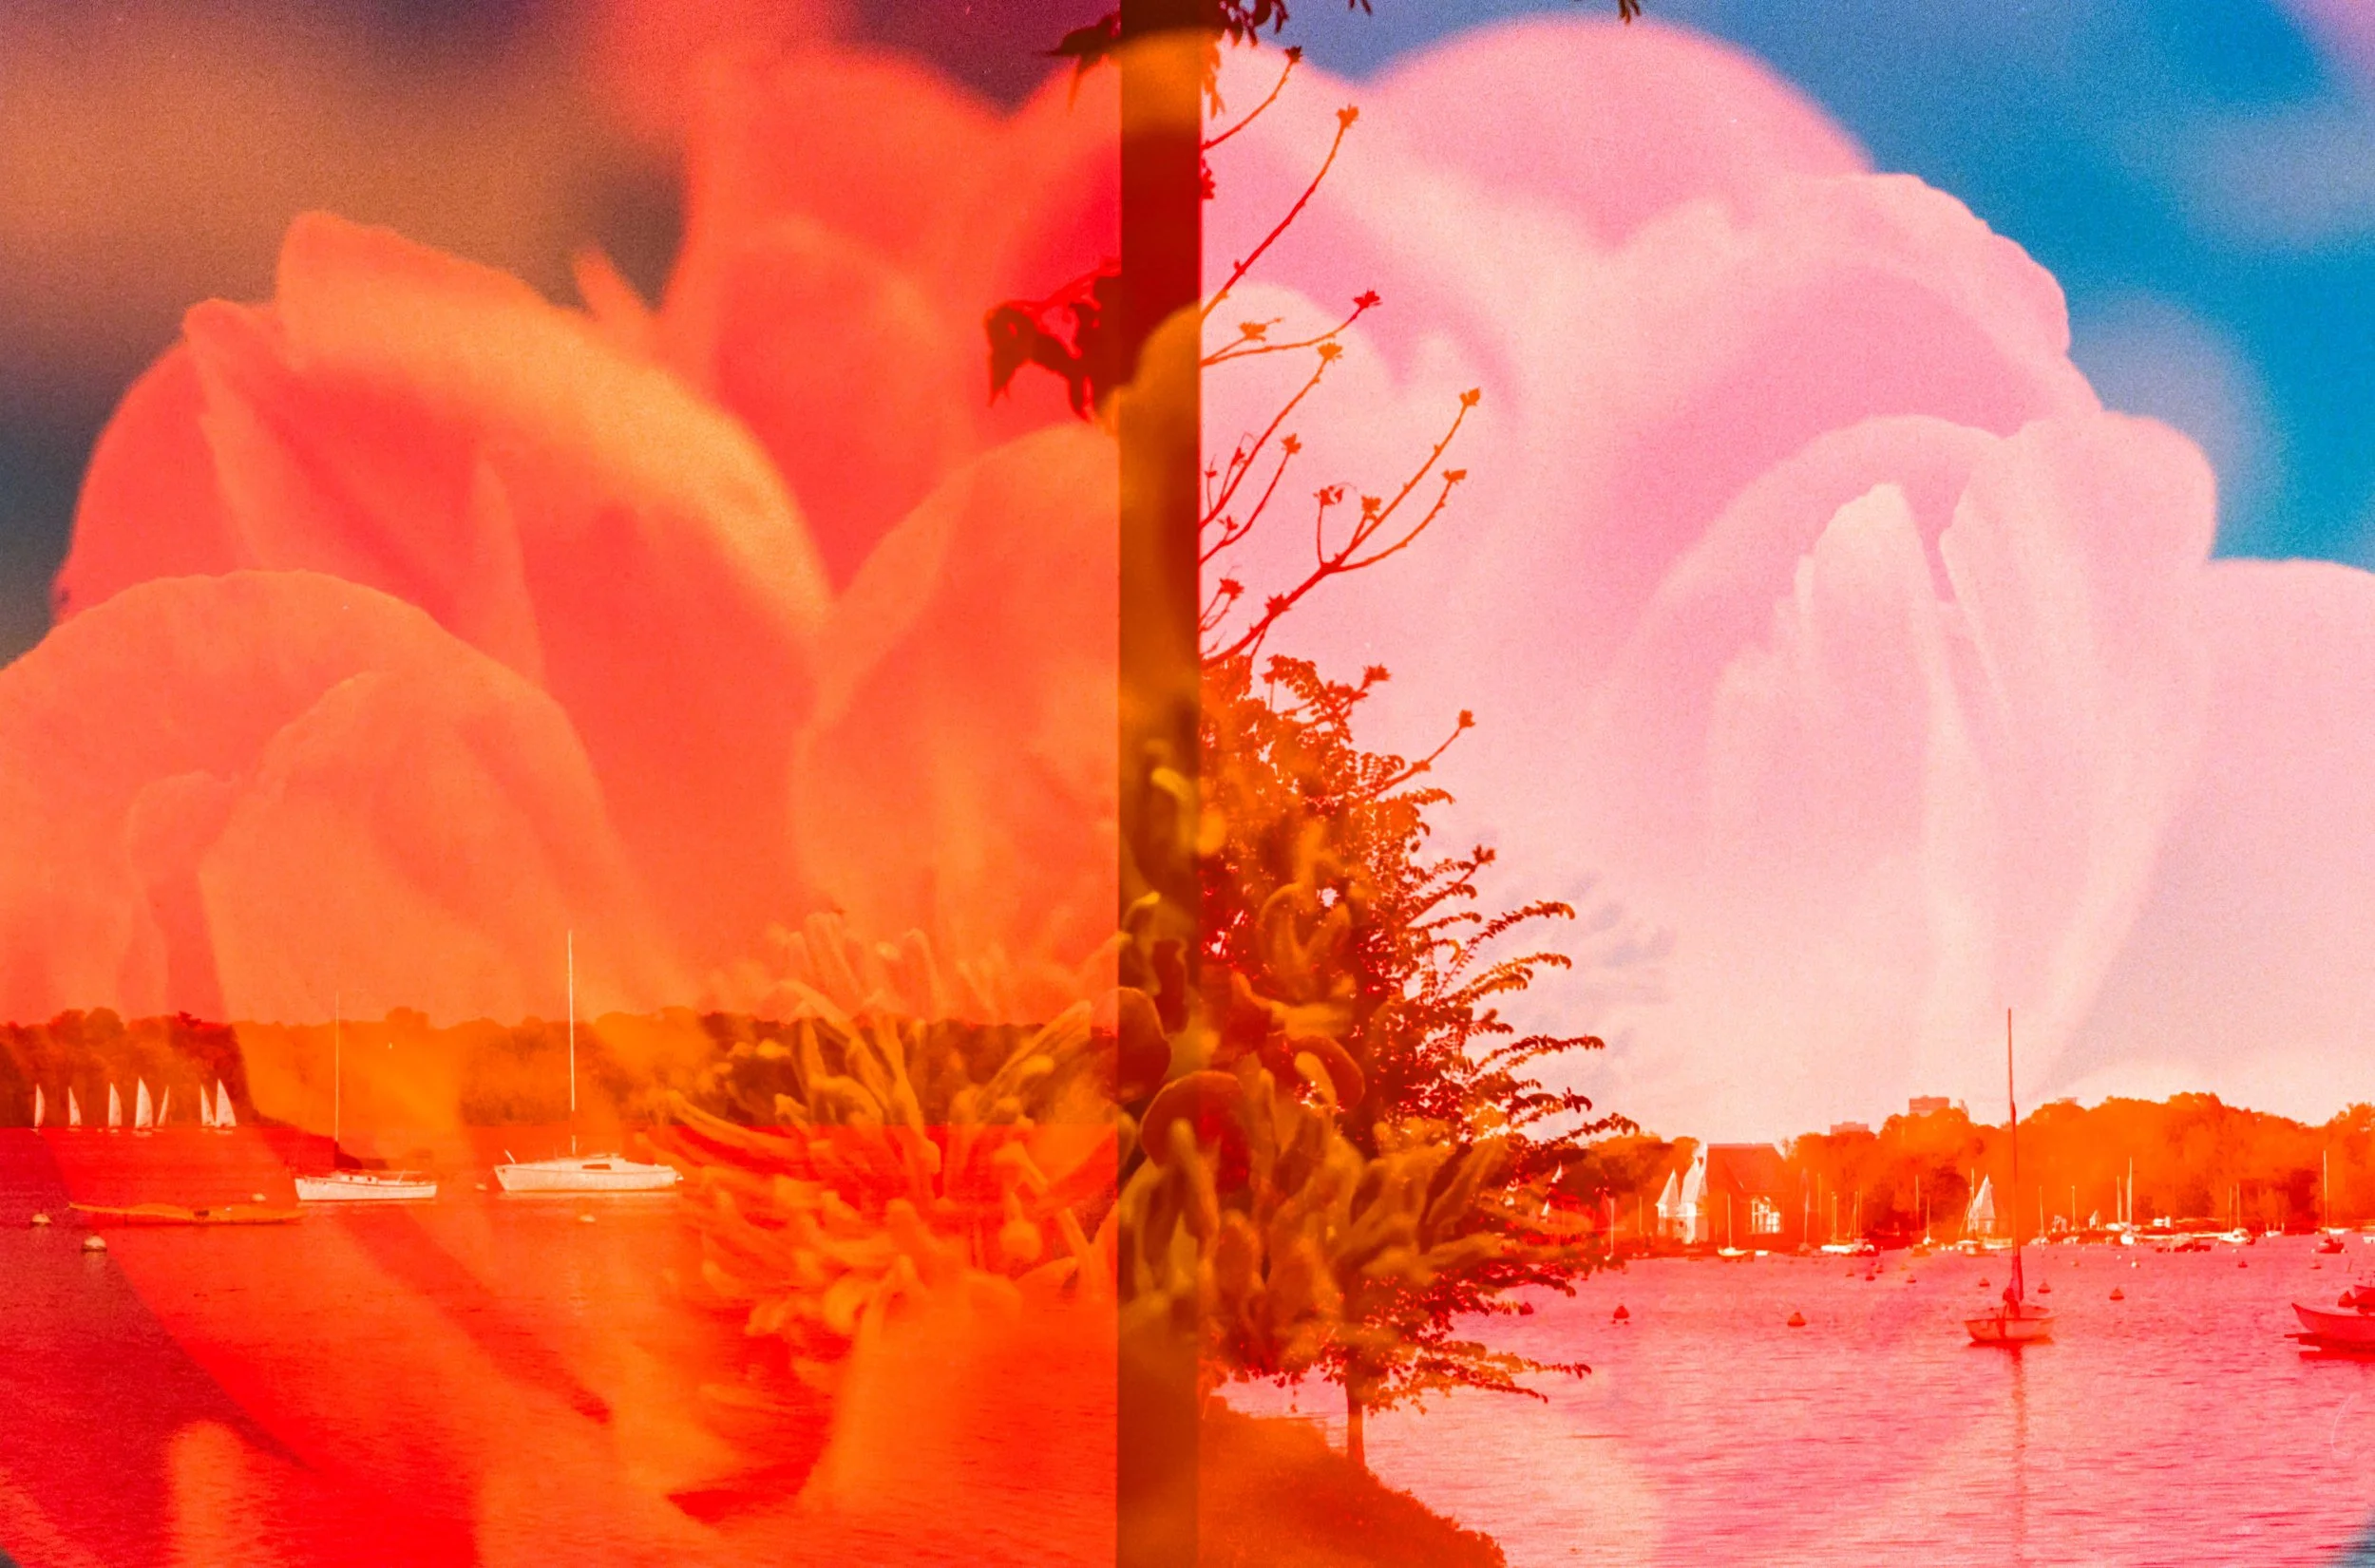
Nikon FE | Portra 400 | EBS
Yearrrrrrs ago on Instagram, I ran across an experimental film photography technique of exposing both sides of a roll of film, also called EBS. This is one of the reasons I love social media, it’s so good at pushing out experimental techniques I’d never dream about! Social media is a major way I have furthered my own artistry over the years, and I am grateful for that.
Unfortunately, like most things in life (or that we encounter on social media), it ended up on my mental Pinterest board only to be forgotten after time.
We all know assignments help with execution (I LOVE a good deadline), and committing to write a tutorial about exposing both sides of the film locked me into actually trying it.
And my goodness, I am so glad I did! I fell in love with it immediately.
It fits my style of experimentation, unpredictability, serendipity, and play. I originally wrote this tutorial in 2021, and it has been part of my practice ever since.
I’m so excited to share the updated tutorial with you!
Note: if you want to learn techniques like EBS, Polaroid lifts, playing with prints, film soup, and more in a LIVE workshop, please take my good friend Cami Turpin’s class The Process Is The Point. She’s an amazing teacher and you will learn so much about art and yourself.
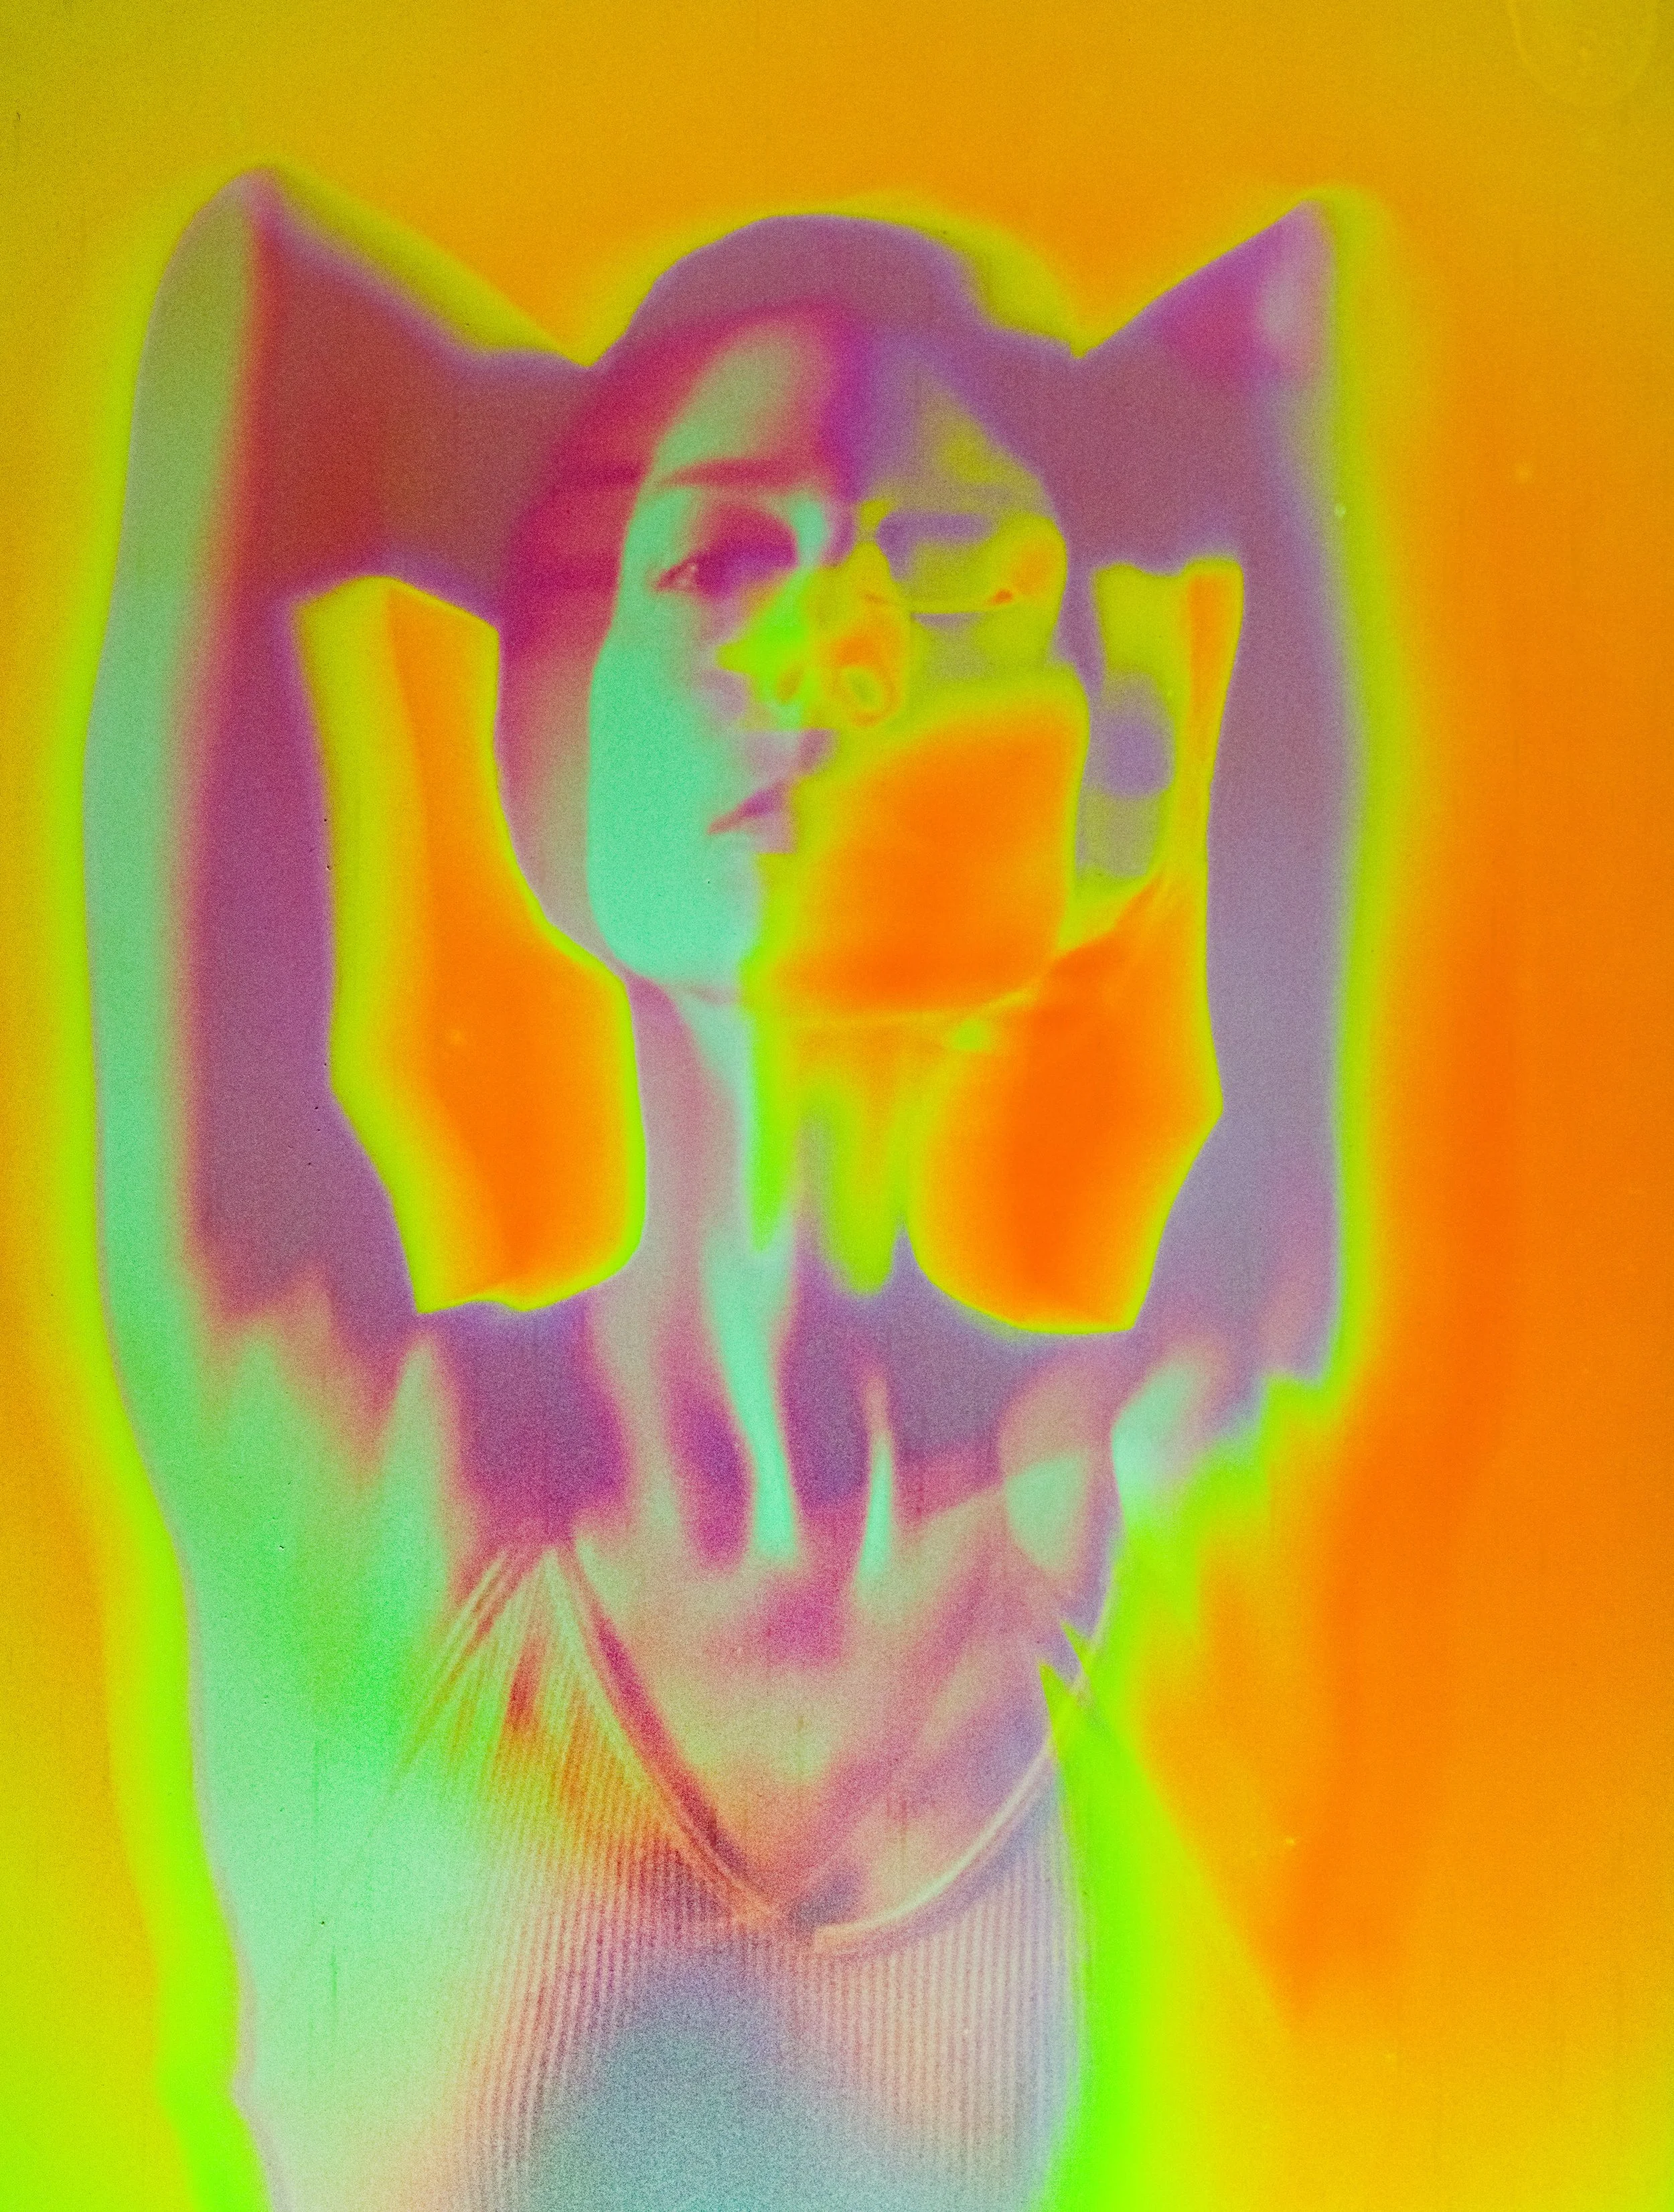
Nikon FE | Potra 800 | EBS

The Art Lab is a community for lifelong learners who want a habit of creativity.
It’s also the most welcoming group on the Internet.
Fall semester is SOLD OUT, but get on the waitlist for spring!
EBS and Redscale
The trick with EBS is that both sides of the roll of film get exposed, so you literally run it through your camera the normal way (emulsion side toward the lens), and then hack the film to run it through your camera with the emulsion side AWAY from the lens, creating what we affectionately refer to as “blind doubles”.
Blind doubles just means you are creating double exposures randomly, by running your film through your camera twice, so it’s hard to line up correctly and hard to plan for a particular result. This technique gives us lots of unpredictable results, but that’s also the fun of it. It’s meant to get us out of our heads and stop overthinking.
This technique can be a little confusing, so be sure to check out the video at the end of the article where I walk you through how to hack your film roll and load your camera with the emulsion side away from the lens.
Let me encourage you by saying, after teaching this technique for years, I have consistently found it’s more confusing to explain than it is to do. It’s actually quite simple in practice, and I have faith you’ll find it easier than you think you will.
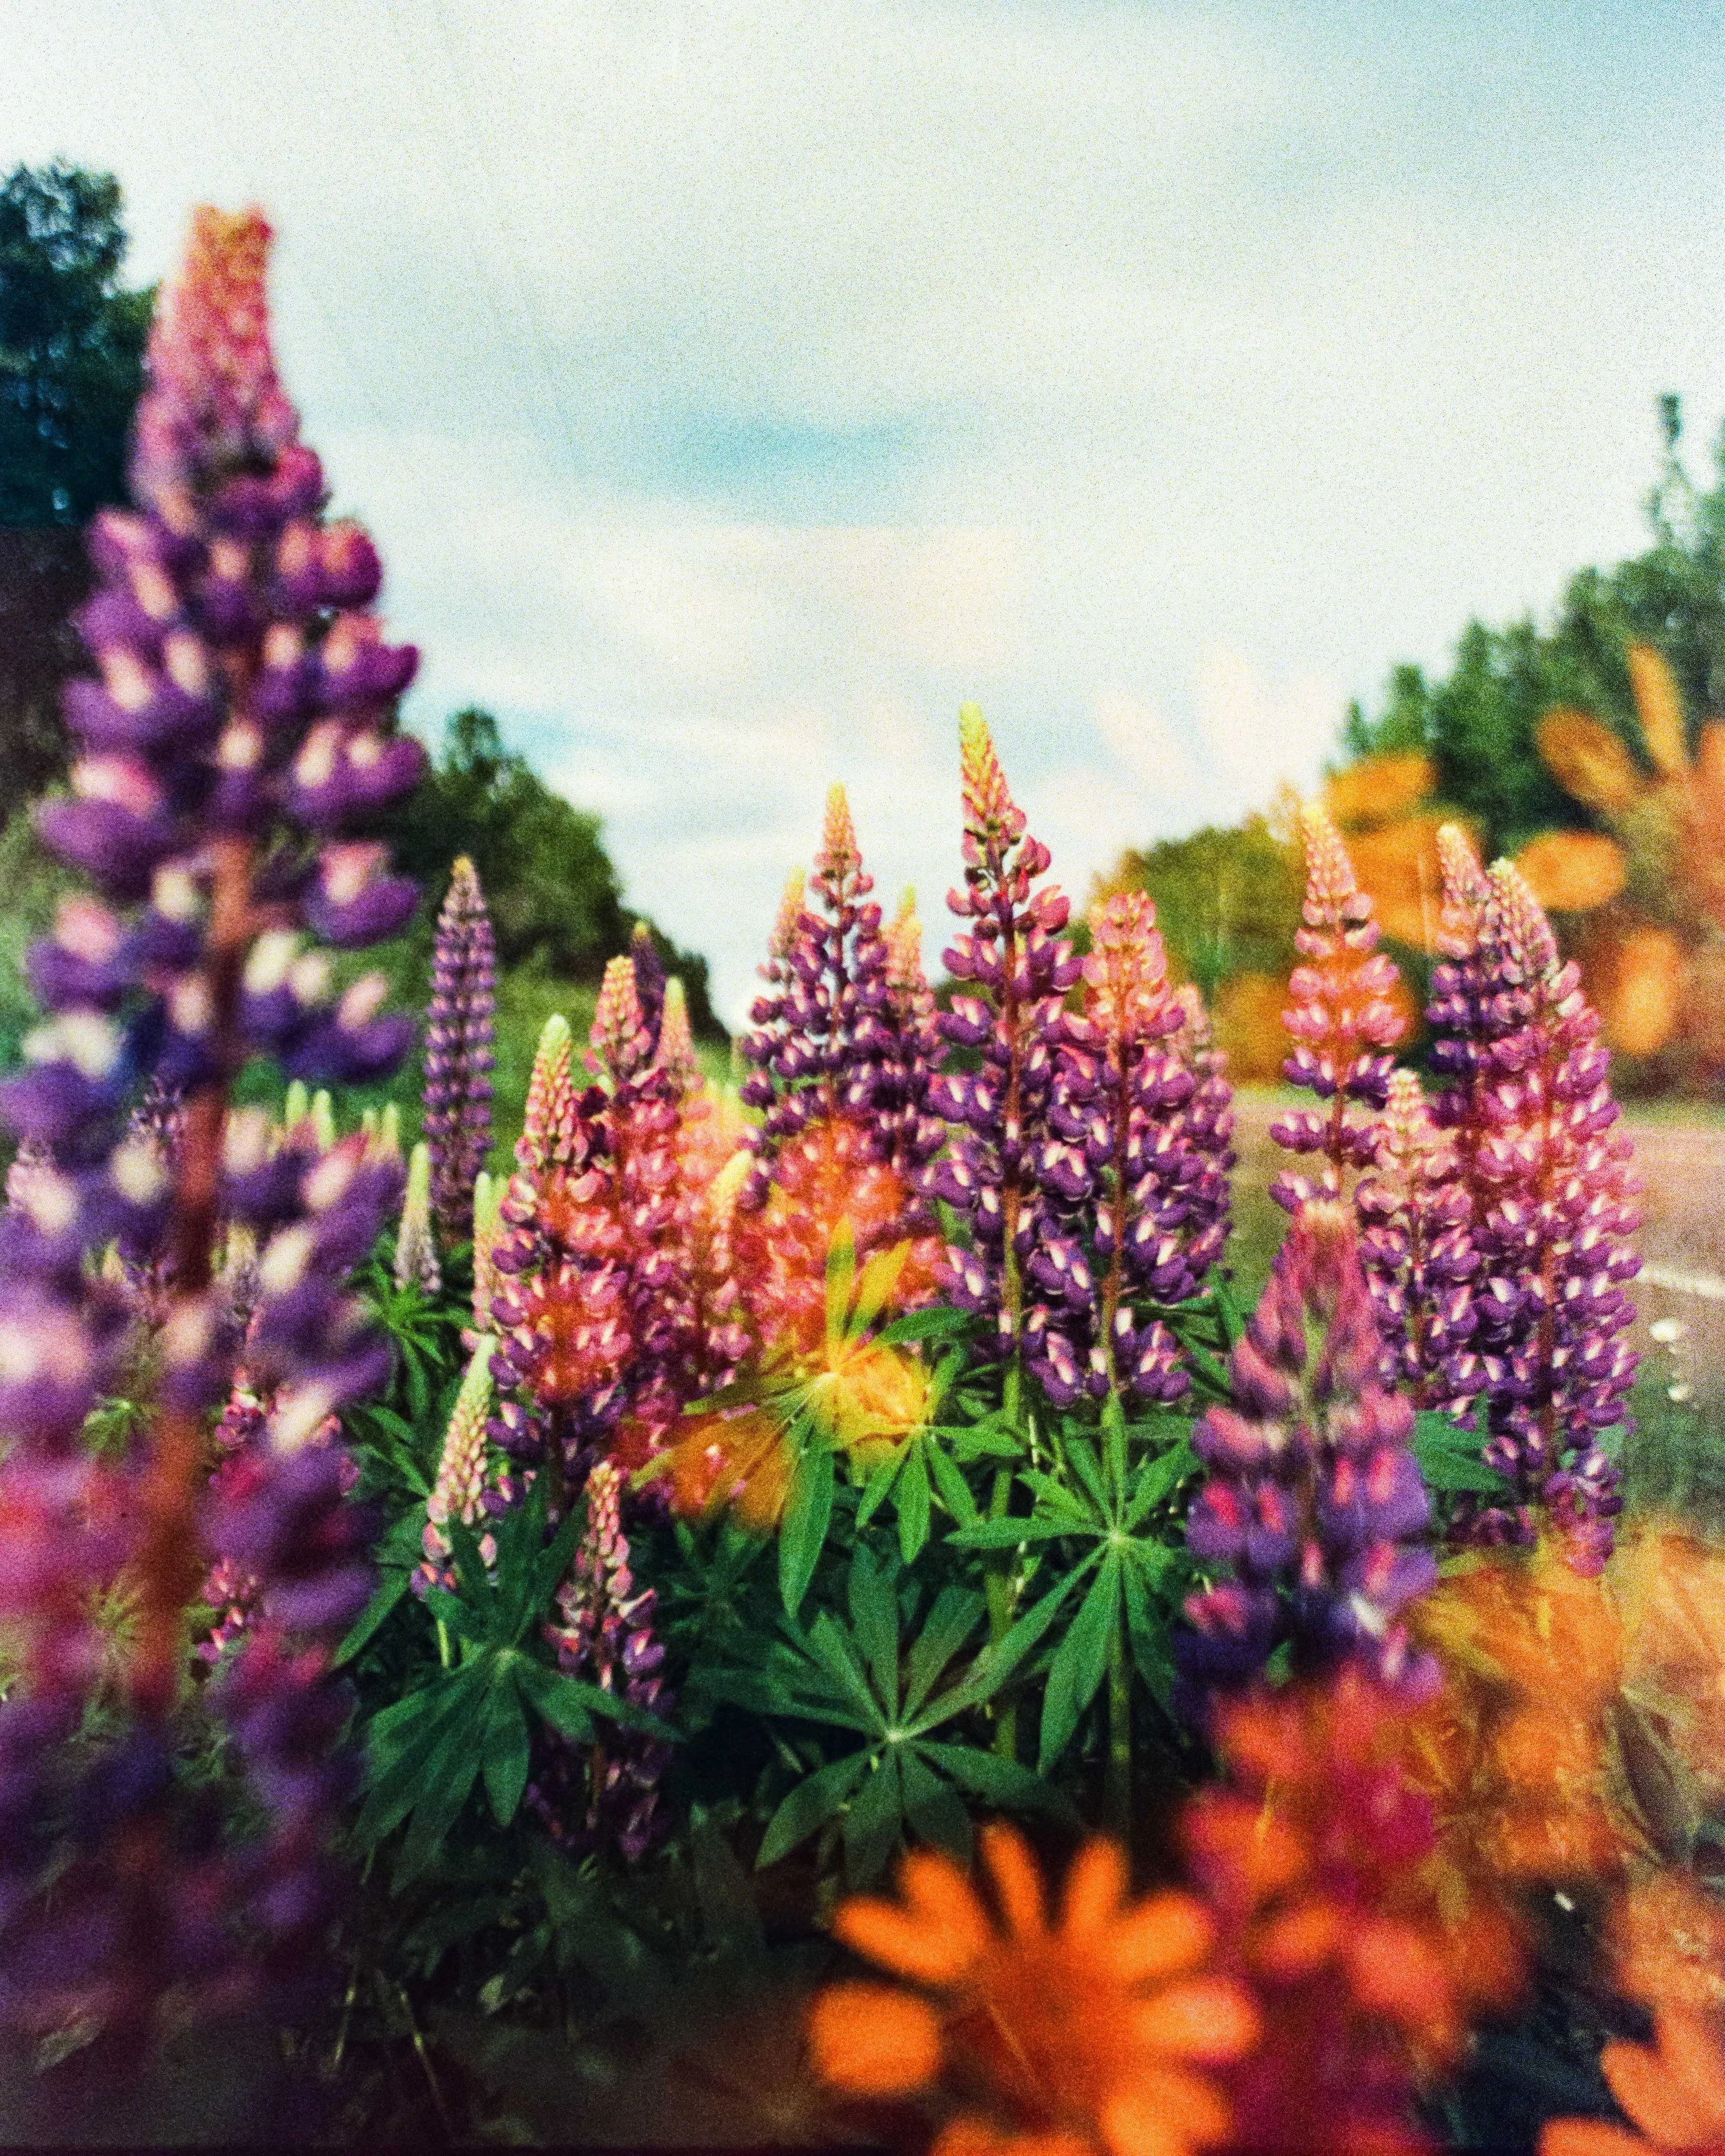
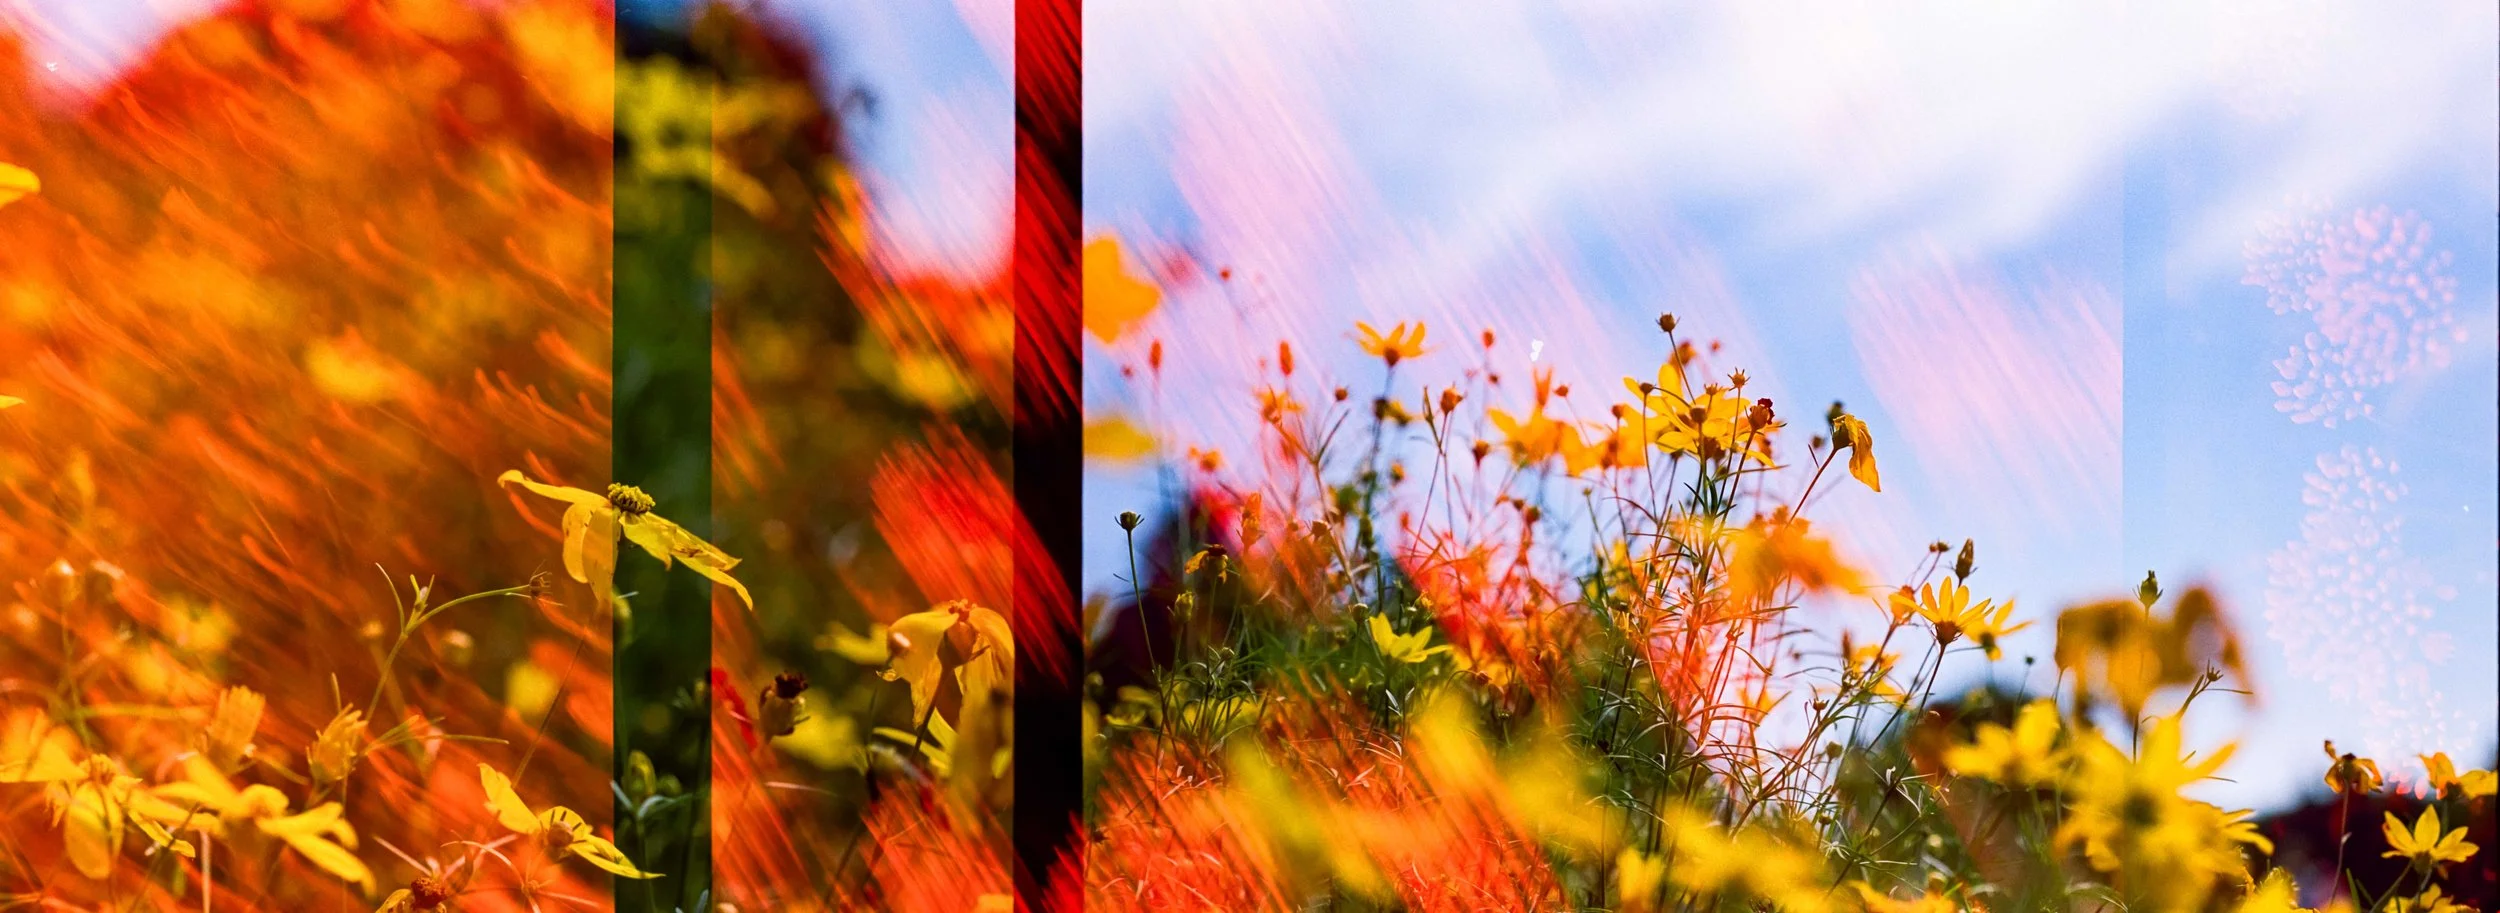
Nikon FE | Portra 800 | EBS
When you expose the non-emsulsion side of the film, you will be shooting redscale.
This is because the red layer on the back of the film will be exposed first, and it will create a strong red color shift in your image. (To learn more about why this is, check out this overview of redscale film photography.)
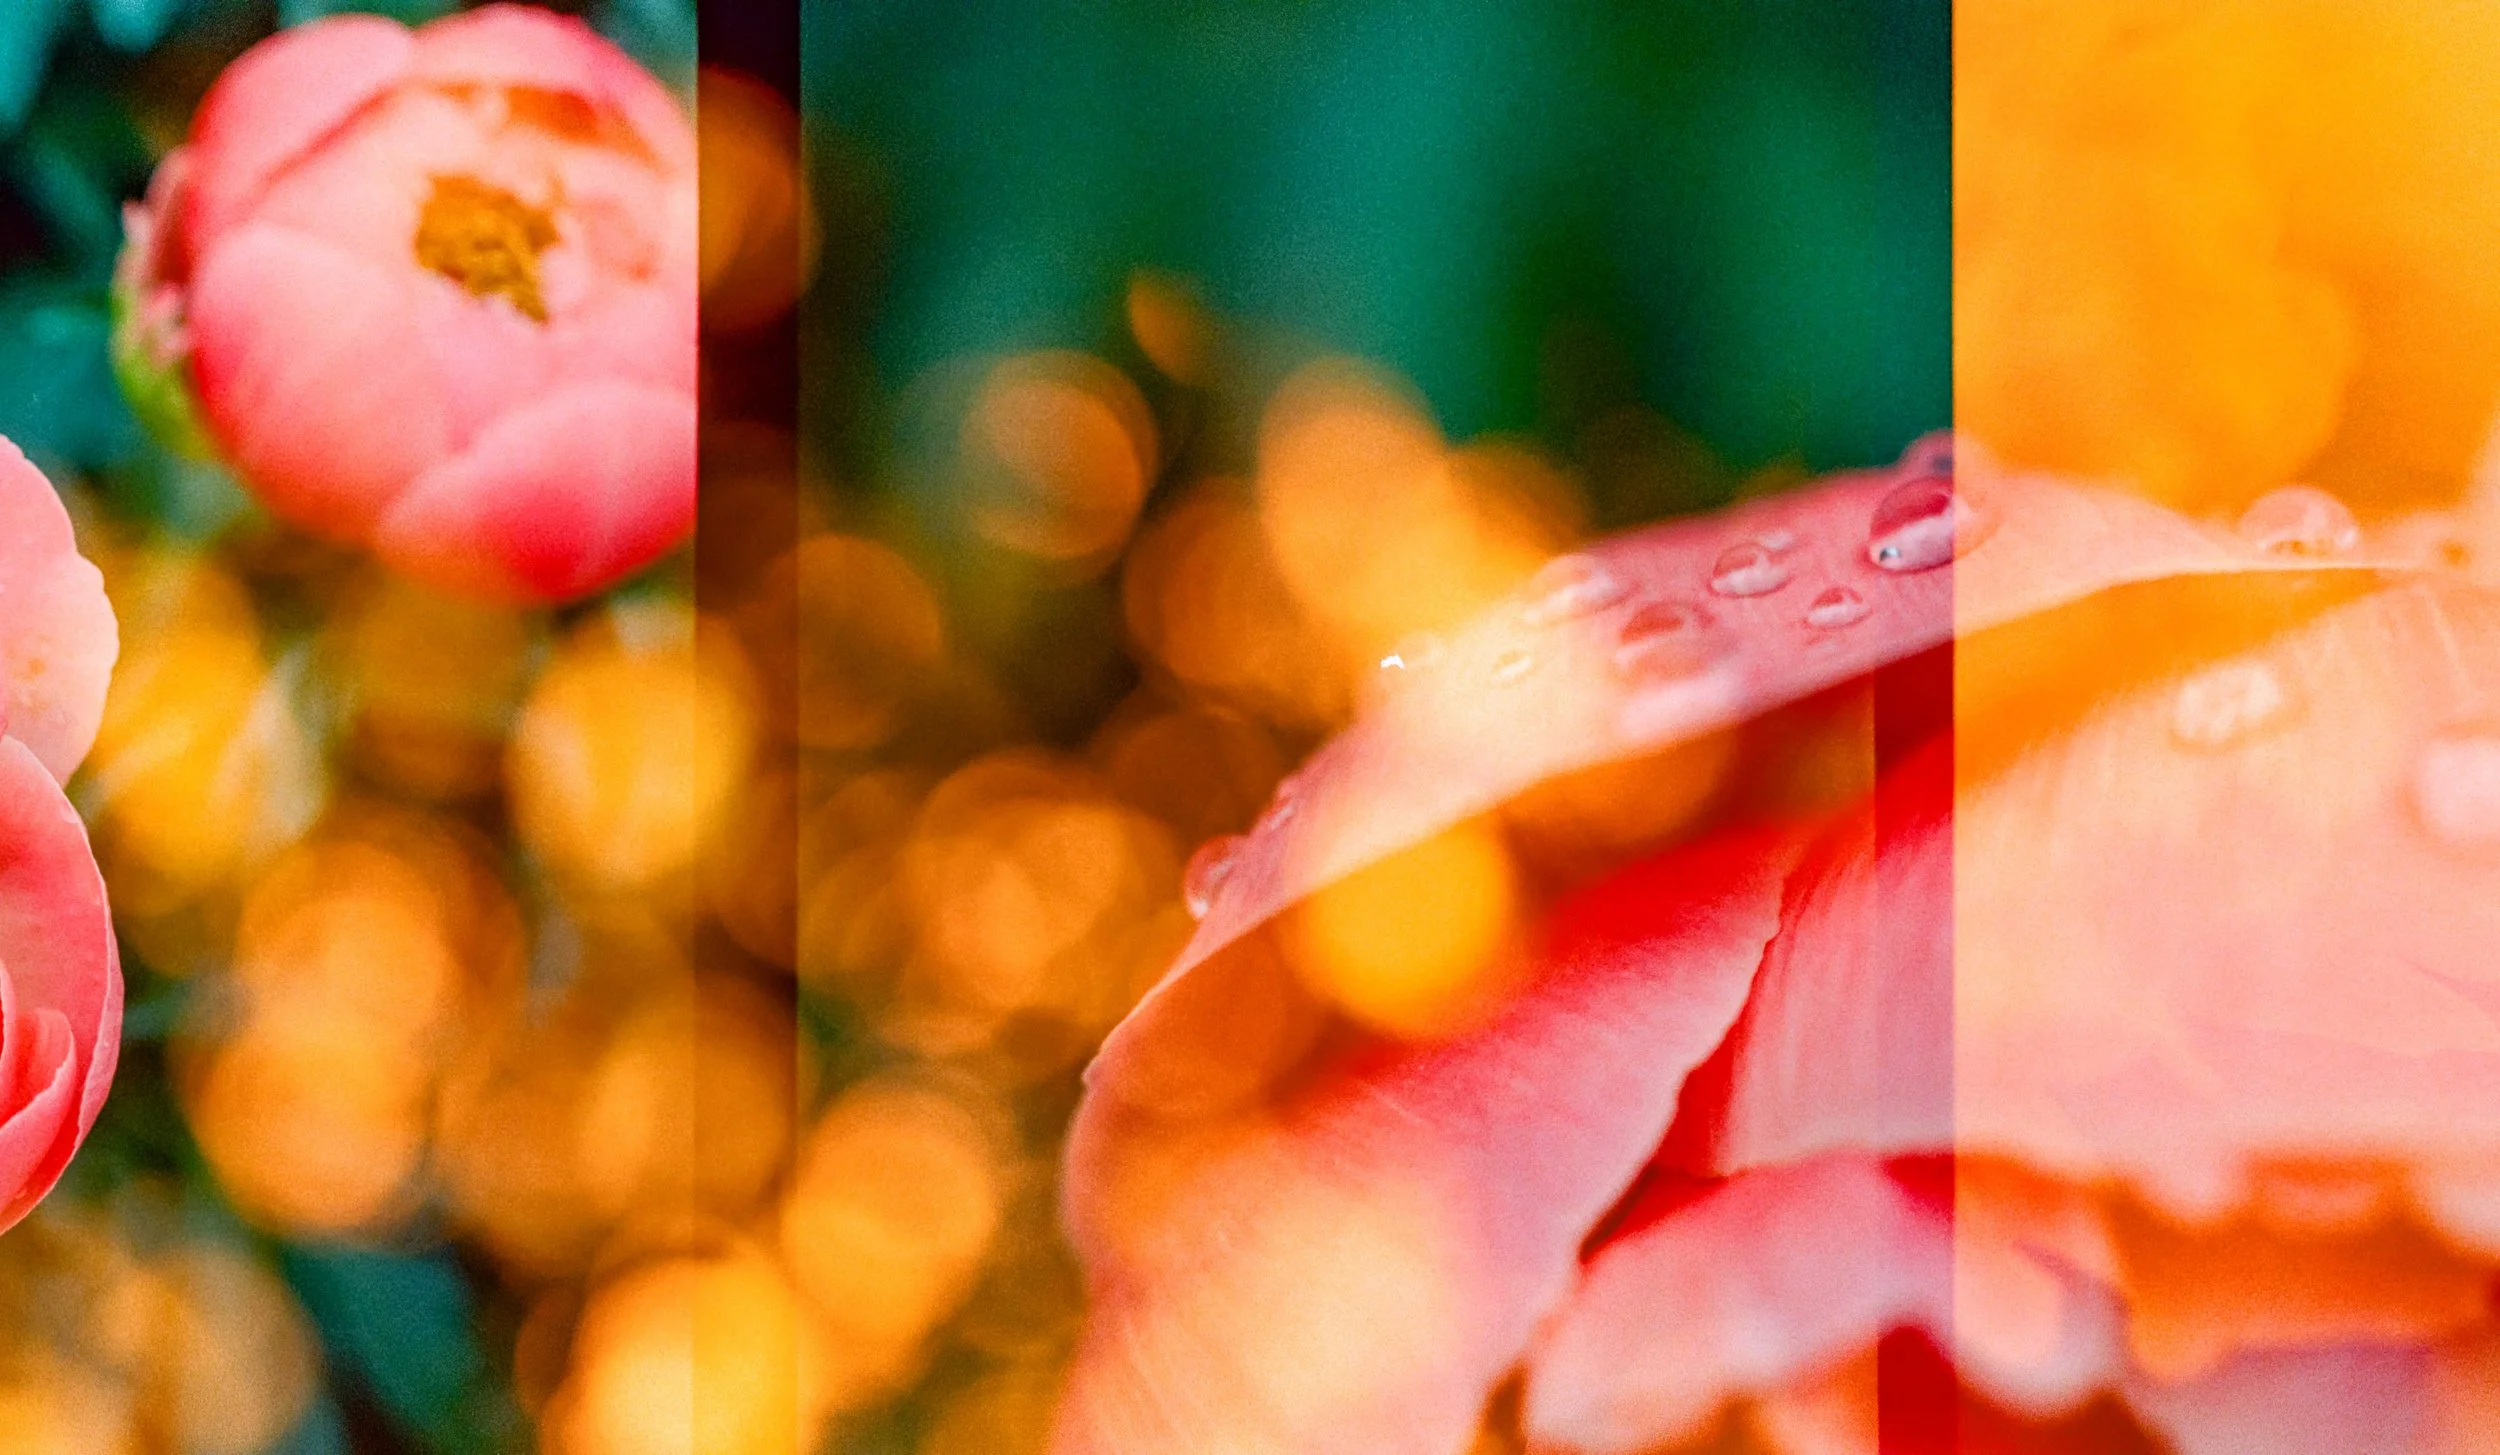
By creating double exposures with one normally exposed image and one redscale image, the final outcome will have a mix of vibrant red and orange colors. It can often mimic the look of light leaks without washing out your whole image.
There are a couple of different ways you can execute the Exposing Both Sides technique:
Upside -Down
If you want to try to line up the frames of your double exposure, you can run the film through the camera with the emulsion away from the lens, and, then, turn your film negative upside down, mark the first frame to be sure the frames align, and shoot again.
It is also common to use a lens splitzer with this method which allows you to expose only half of the frame at a time, so you’ll expose half of the frame with the emulsion towards the lens and half of the frame with the emulsion away from the lens.
Right Side Up
If you don’t mind overlapping frames, you can run the film through the camera with the film negative right side up each time.
My goal was just to run it right side up each time and get overlapping frames, so this article tackles this technique.
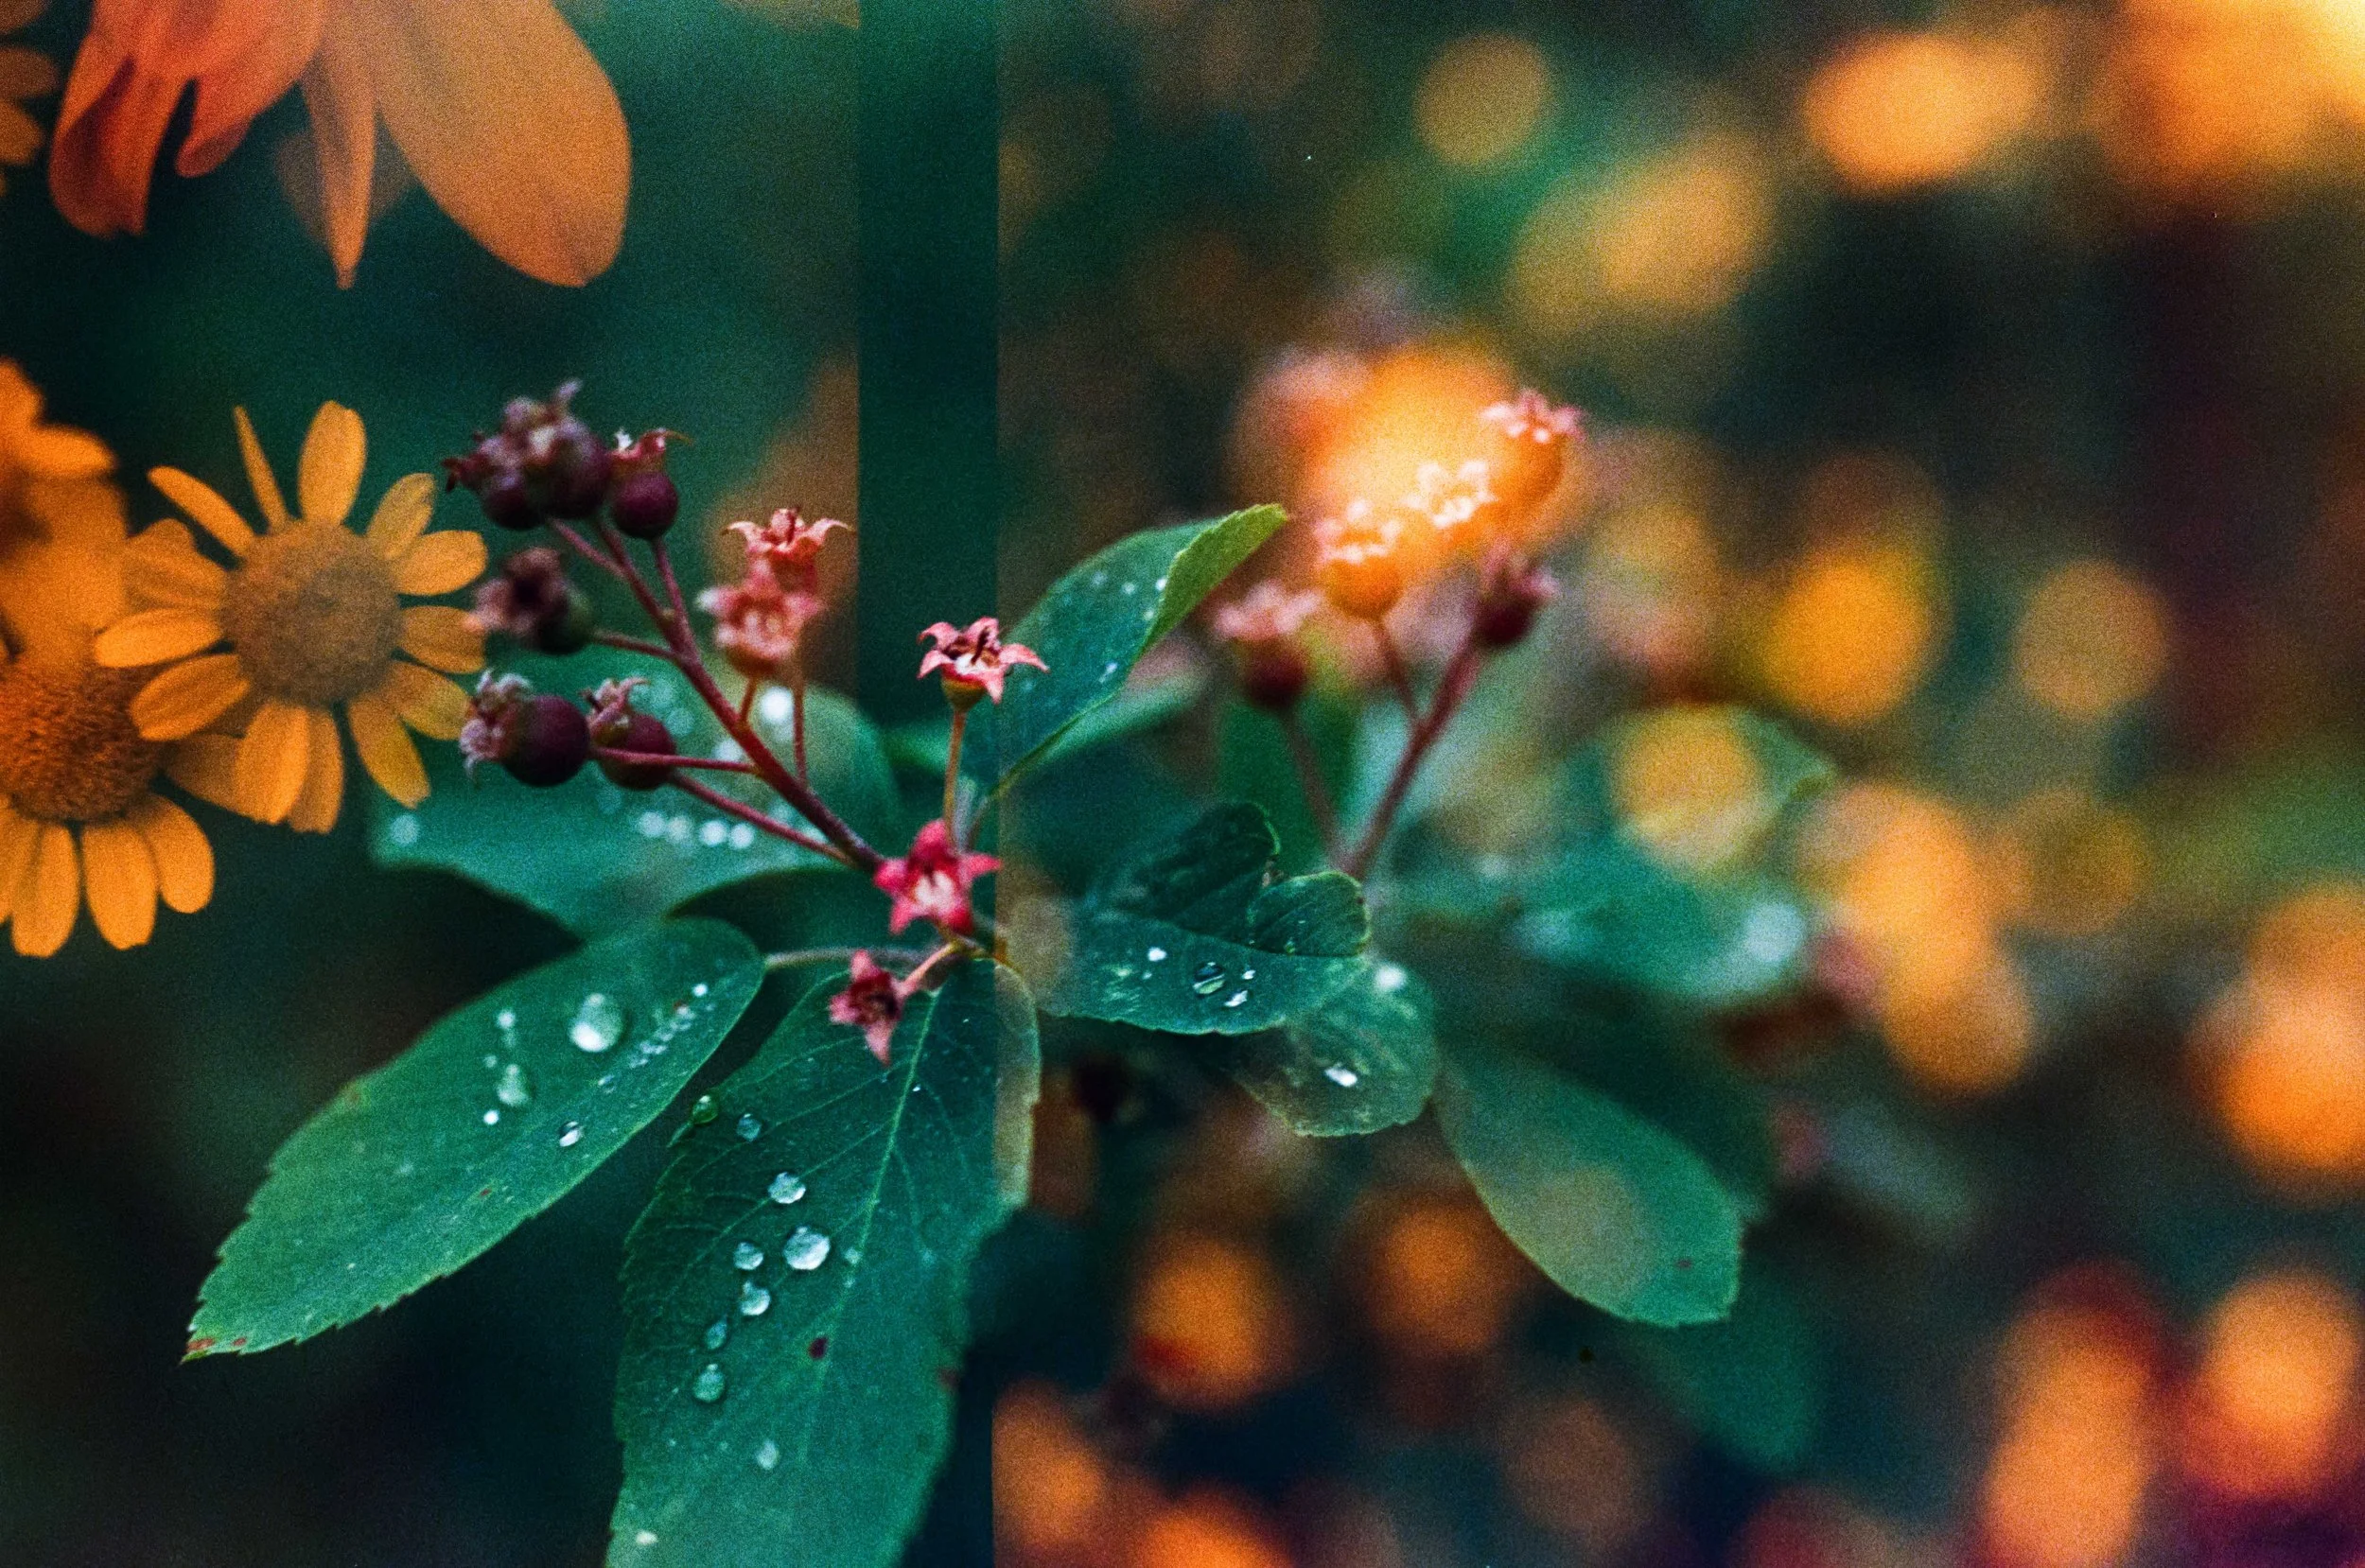
Nikon FE | Portra 800 | EBS
How to Expose Both Sides of Your Film
First, run your film through as normal. Rate and expose as you normally would and shoot away.
Once your film hits the end, it’s time to reverse it to shoot through the backside!
This is NOT as simple as flipping the cartridge upside down. The cartridge won’t fit in your camera if it’s upside down, so you have to do a relatively easy hack to make this happen.
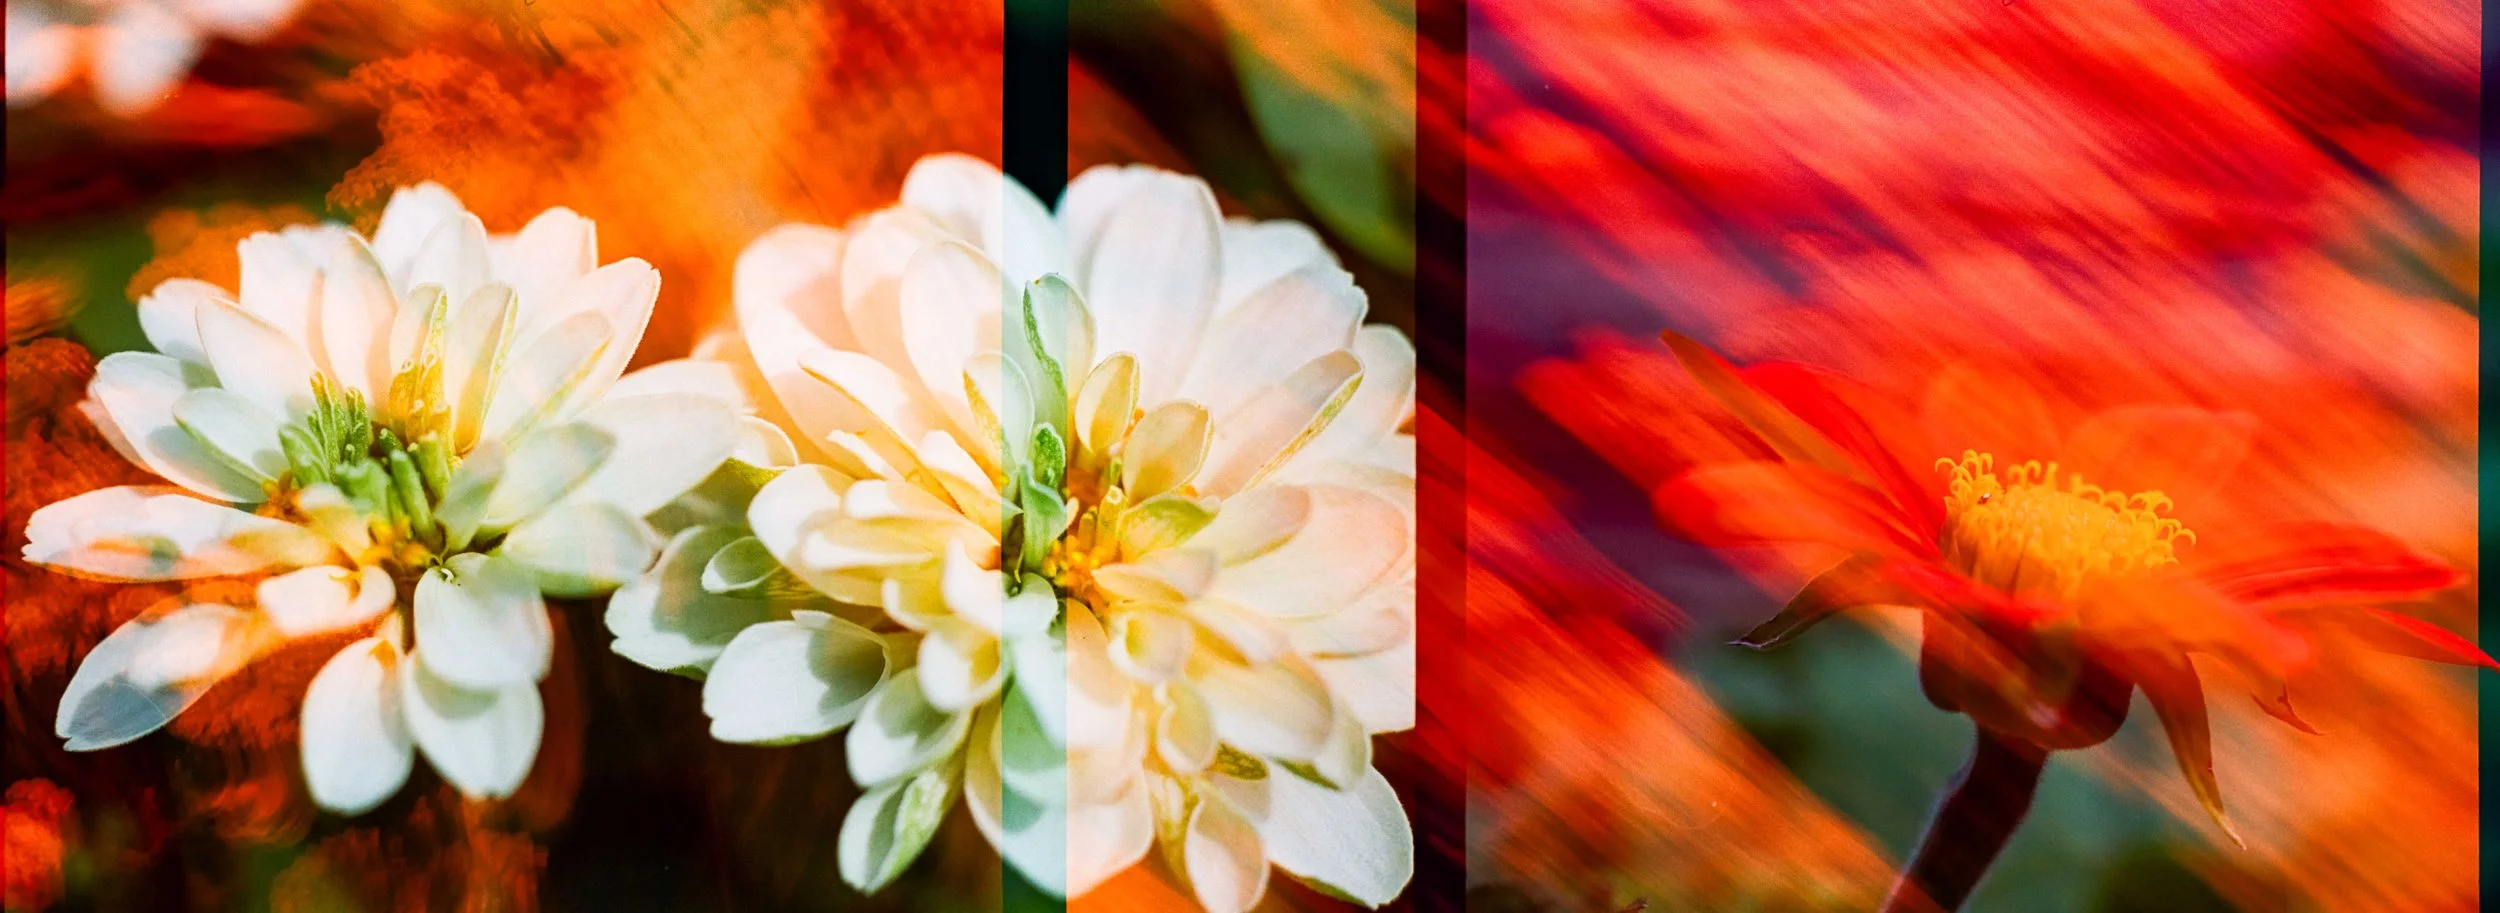
Nikon FE } Portra 400 | EBS
Supplies Needed for Turning Your Film Backwards:
An empty cartridge that you can buy from a supply store or a previously used cartridge with just a short tail of film sticking out
If you don’t have one of these, sacrifice a roll of film. If you develop your own film, don’t shoot the last frame of a roll, and instead of cracking open the cartridge to extract the film, take the leader out and cut the film off, leaving a tail end.
Scotch tape
Scissors
A changing bag or dark room with black blanket
Nikon FE | Portra 800 | EBS
How to Turn Your Film Backwards:
This video from my Instagram walks you through the process, and there are also written directions below.
Leave the leader out when rewinding your film. If your camera automatically winds the leader in, retrieve the film leader from your cartridge.
Cut off the leader and save.
Take your empty cartridge, and turn it the same direction as the roll of film you just shot. So if the nubby side of one cartridge is facing down, the nubby side of the empty cartridge should be facing down. The film from the cartridges should align upside down; one side will be emulsion and the other will be non-emulsion.
Tape the ends together as aligned as possible.
Bring the whole taped-film-in-two-cartridge-set-up into your dark bag or a dark room under a dark blanket.
Wind the film into the empty cartridge.
Cut the film off the cartridge. If you leave a little tail, you can use this cartridge for your next round of EBS.
Tape the leader back on. (It will be taped on in the opposite direction of the film. It is often curved in the direction you want the film to go, so it will help your film catch.)
Photograph through the roll a second time, just keep in mind you’ll be photographing in redscale.
Watch below for a quick visual run-through
How Should I Photograph In Redscale?
Because you’re shooting in redscale, it is recommended to shoot at least two stops over.
So if you shot the normal side of the film at 400 ISO, you’d want to shoot the non-emulsion (redscale) side at 100 ISO. (I typically use film that’s ISO 400 or higher, because when it turns backwards, your settings will slow waaaaay down.)
The more you overexpose, the more light will hit the layers behind the red-sensitive layer, but the less intense the red will become.
I have found I like shooting things like flowers or sky on the redscale side. If it gets too busy, it overpowers and makes everything feel a bit messy.
Photographing something white and bright will show up as orange/red, so I keep in mind a balance of pops of white with darker areas that might not show up at all. This makes bokeh an especially great and easy addition on the redscale side.
I have also preferred to shoot the non-emulsion side at golden hour to really lean into the redscale vibe.
When you run the film through again, the film will be right-side-up, but it will be run backwards through the camera (last frame will be shot over first), so aligning frames intentionally is rather difficult.
BUT, I like the serendipity of shooting blind like this. You just never know what story the film will help you tell, even when you didn’t ask it to.
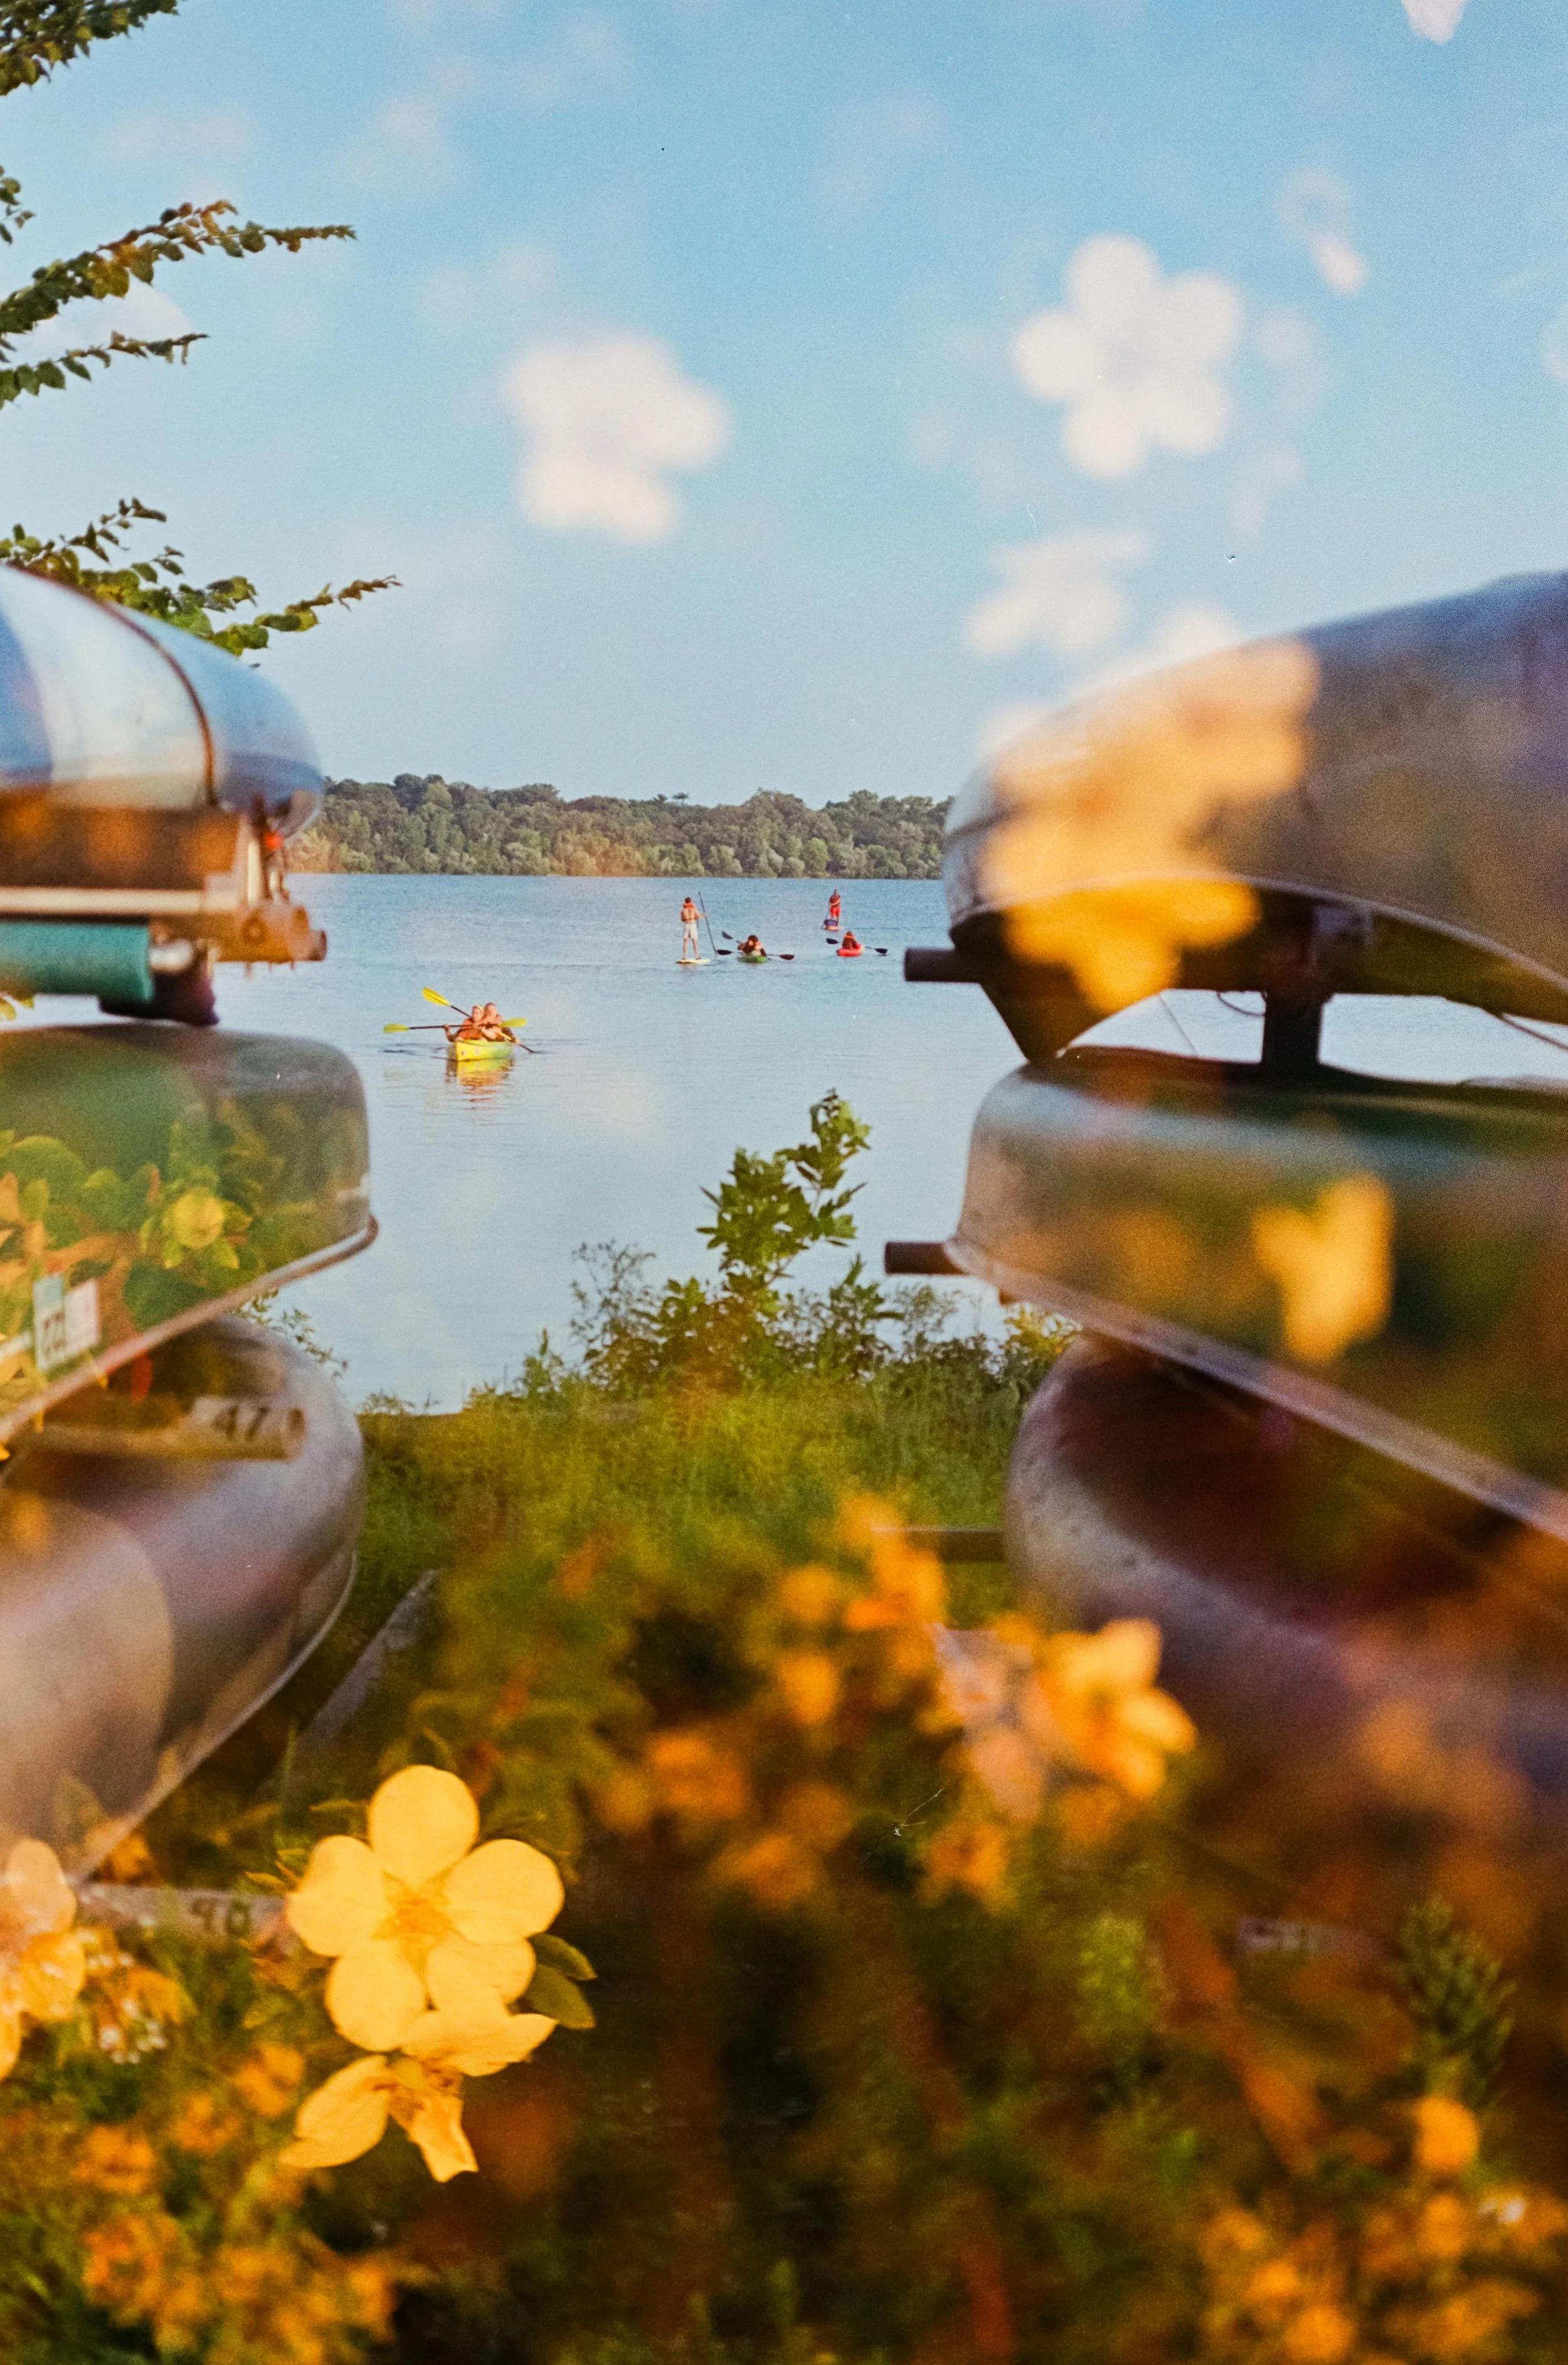
Nikon FE | Fuji 200 } EBS
Be Kind To Your Lab
If you scan this at home, then great! You can divide things up how you’d like. You can even scan panorama and just make slight adjustments for each frame EBS lends itself to DSLR scanning for that reason. It’s much easier to keep the whole roll in tact and make slight adjustments with scanning using this method. A flatbed is trickier because you will have to crop the film into strips before scanning, there by cropping right through a given frame.
If you have a lab scan it, warn them that it’s blind doubles and trust them to crop where they see fit. It can be more labor and time intensive to scan blind doubles, depending on the adjustments they make and how many frames they choose to scan. (I almost always deliver more than 36 frames, because I will backtrack and scan pieces of frames multiple times.)
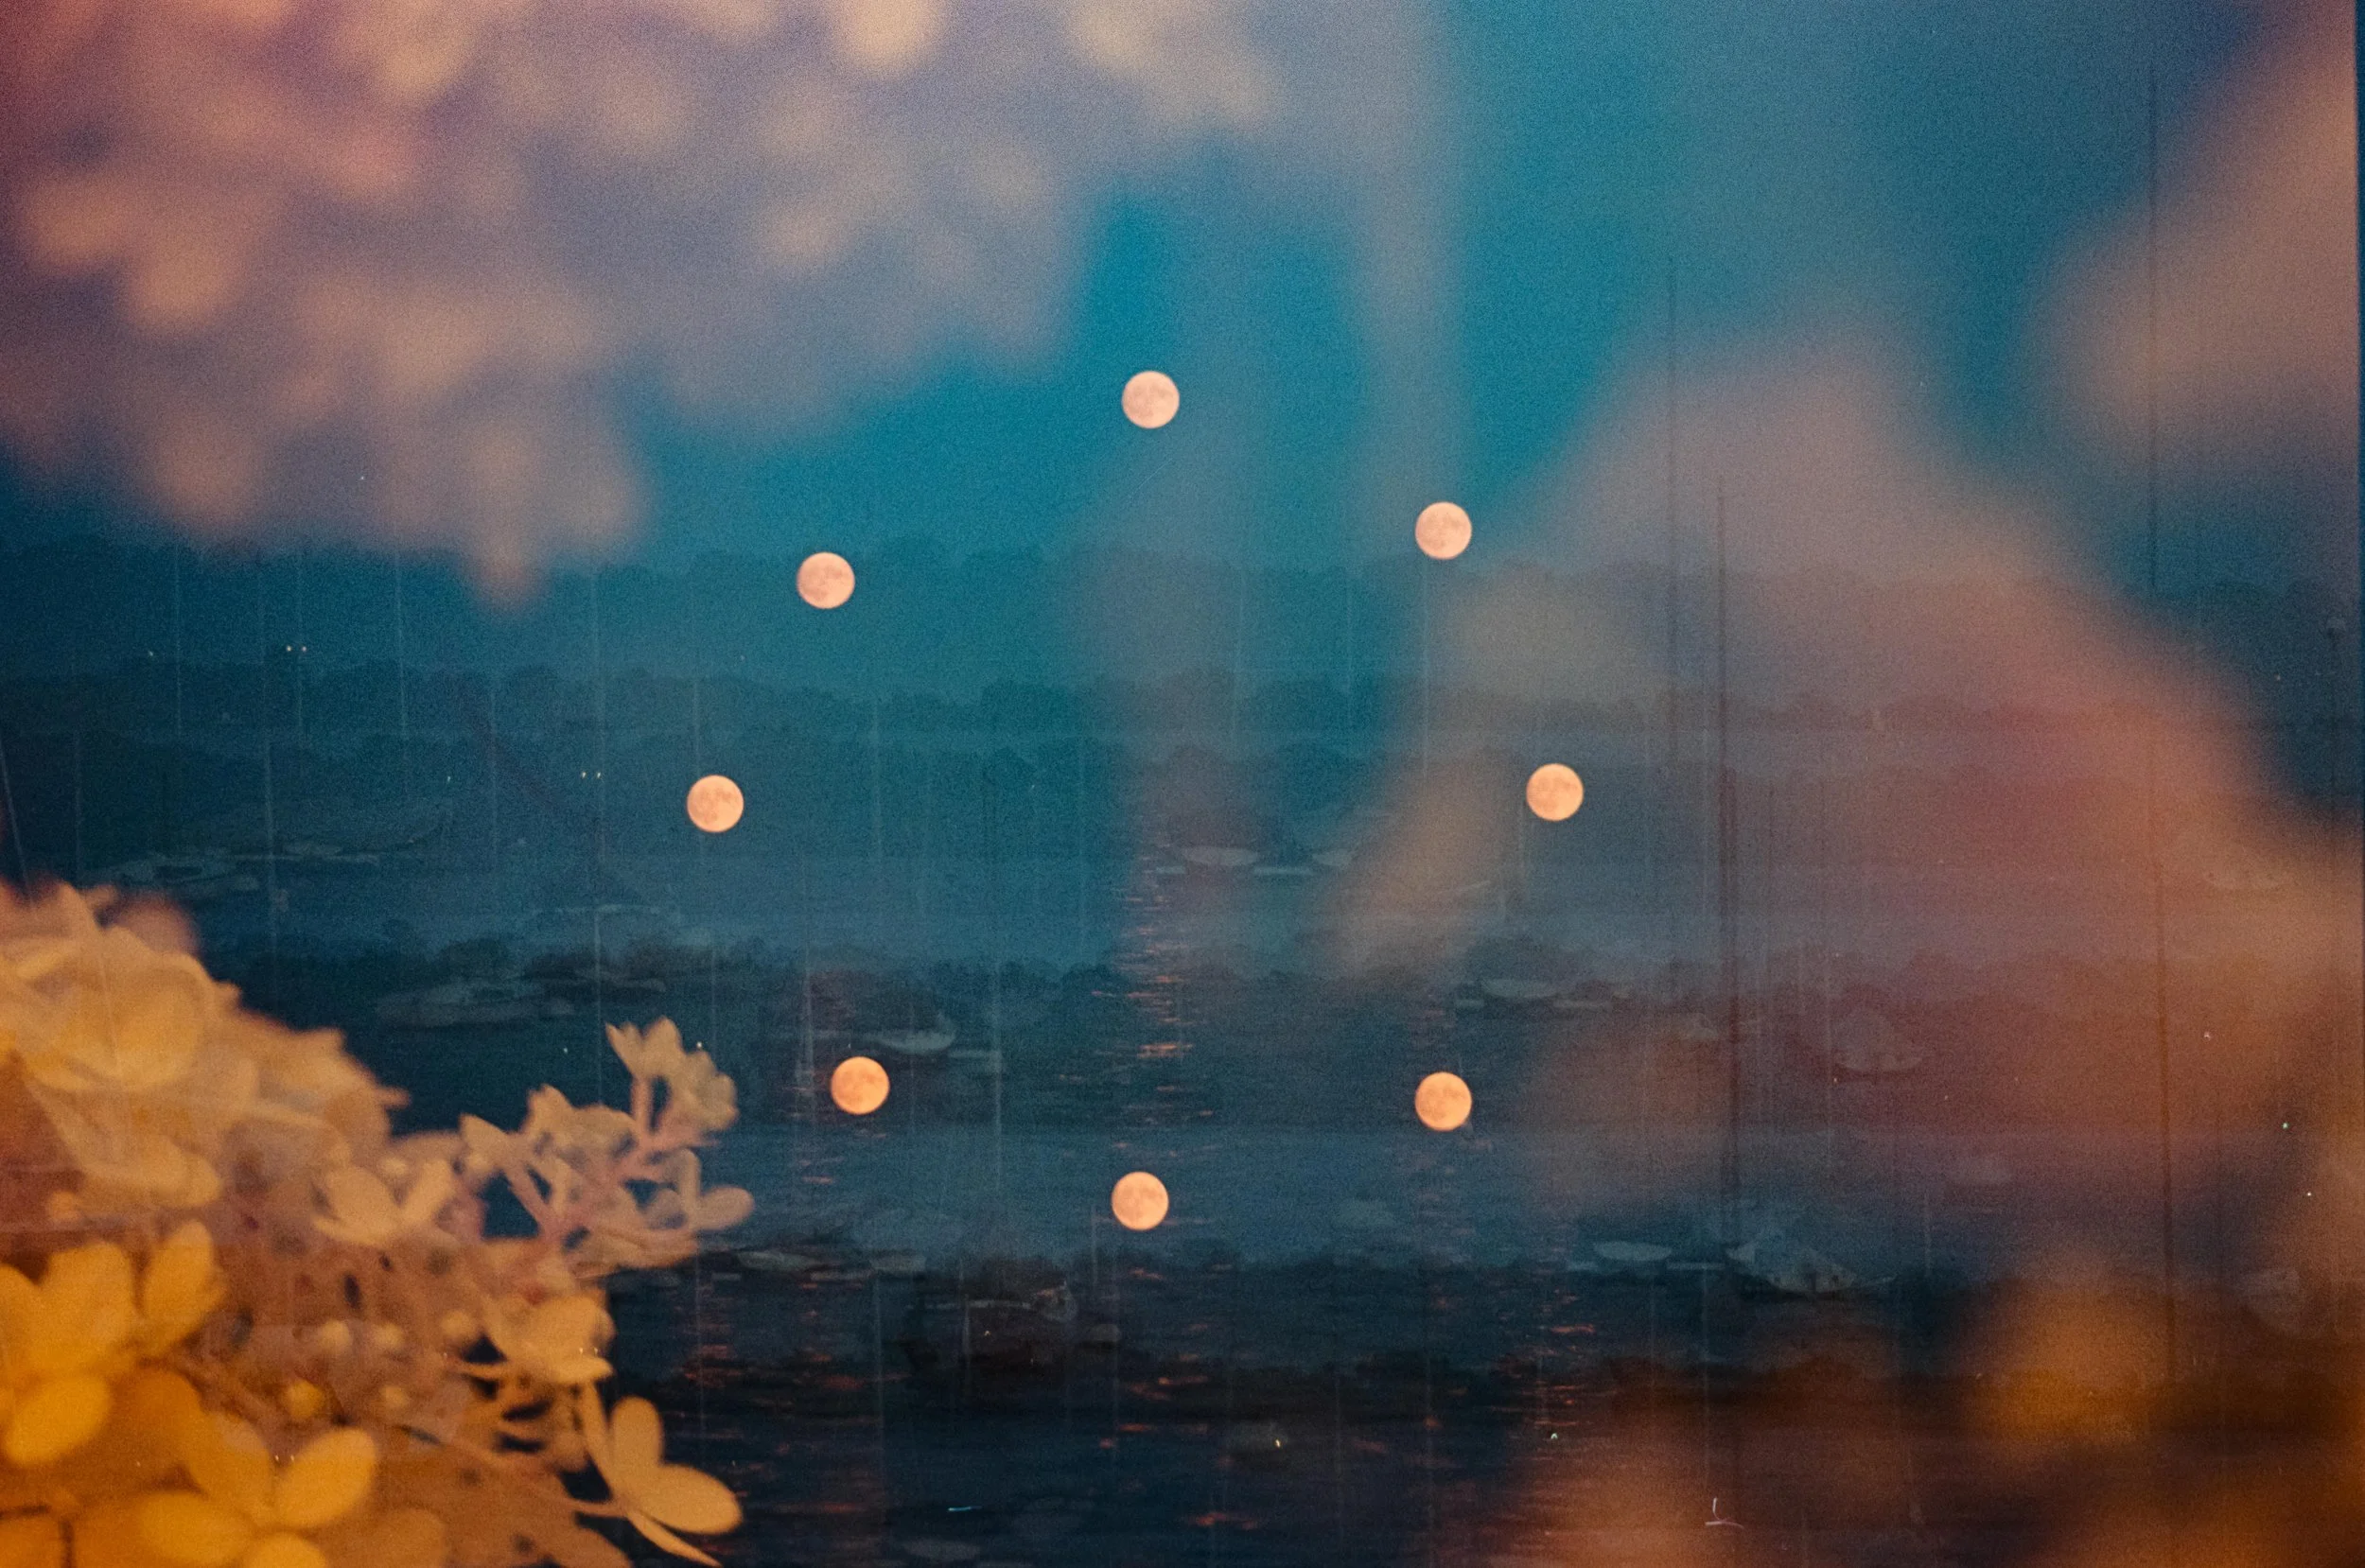
Nikon FE | Fuji 200 | EBS
Get Out Of Your Head!
Because we are exposing the film twice, we will end up taking 72 images, which can feel loooooong. The worst thing to do is start getting in your own way and overthinking each image.
One of my favorite things to do with EBS or any blind doubles is to pick a location and a time (20-30 minutes) and give myself the task of shooting through the whole roll in that timeframe.
These constraints help me to stop overthinking and photograph some things I wouldn’t if I was taking it slow through the roll. (Some of which will be duds, but some will be wins, and all of it will increase my photography knowledge!)
So get out, have fun, maybe even swap with a friend if you’re so inclined. And definitely share your results. I’d love to see them!
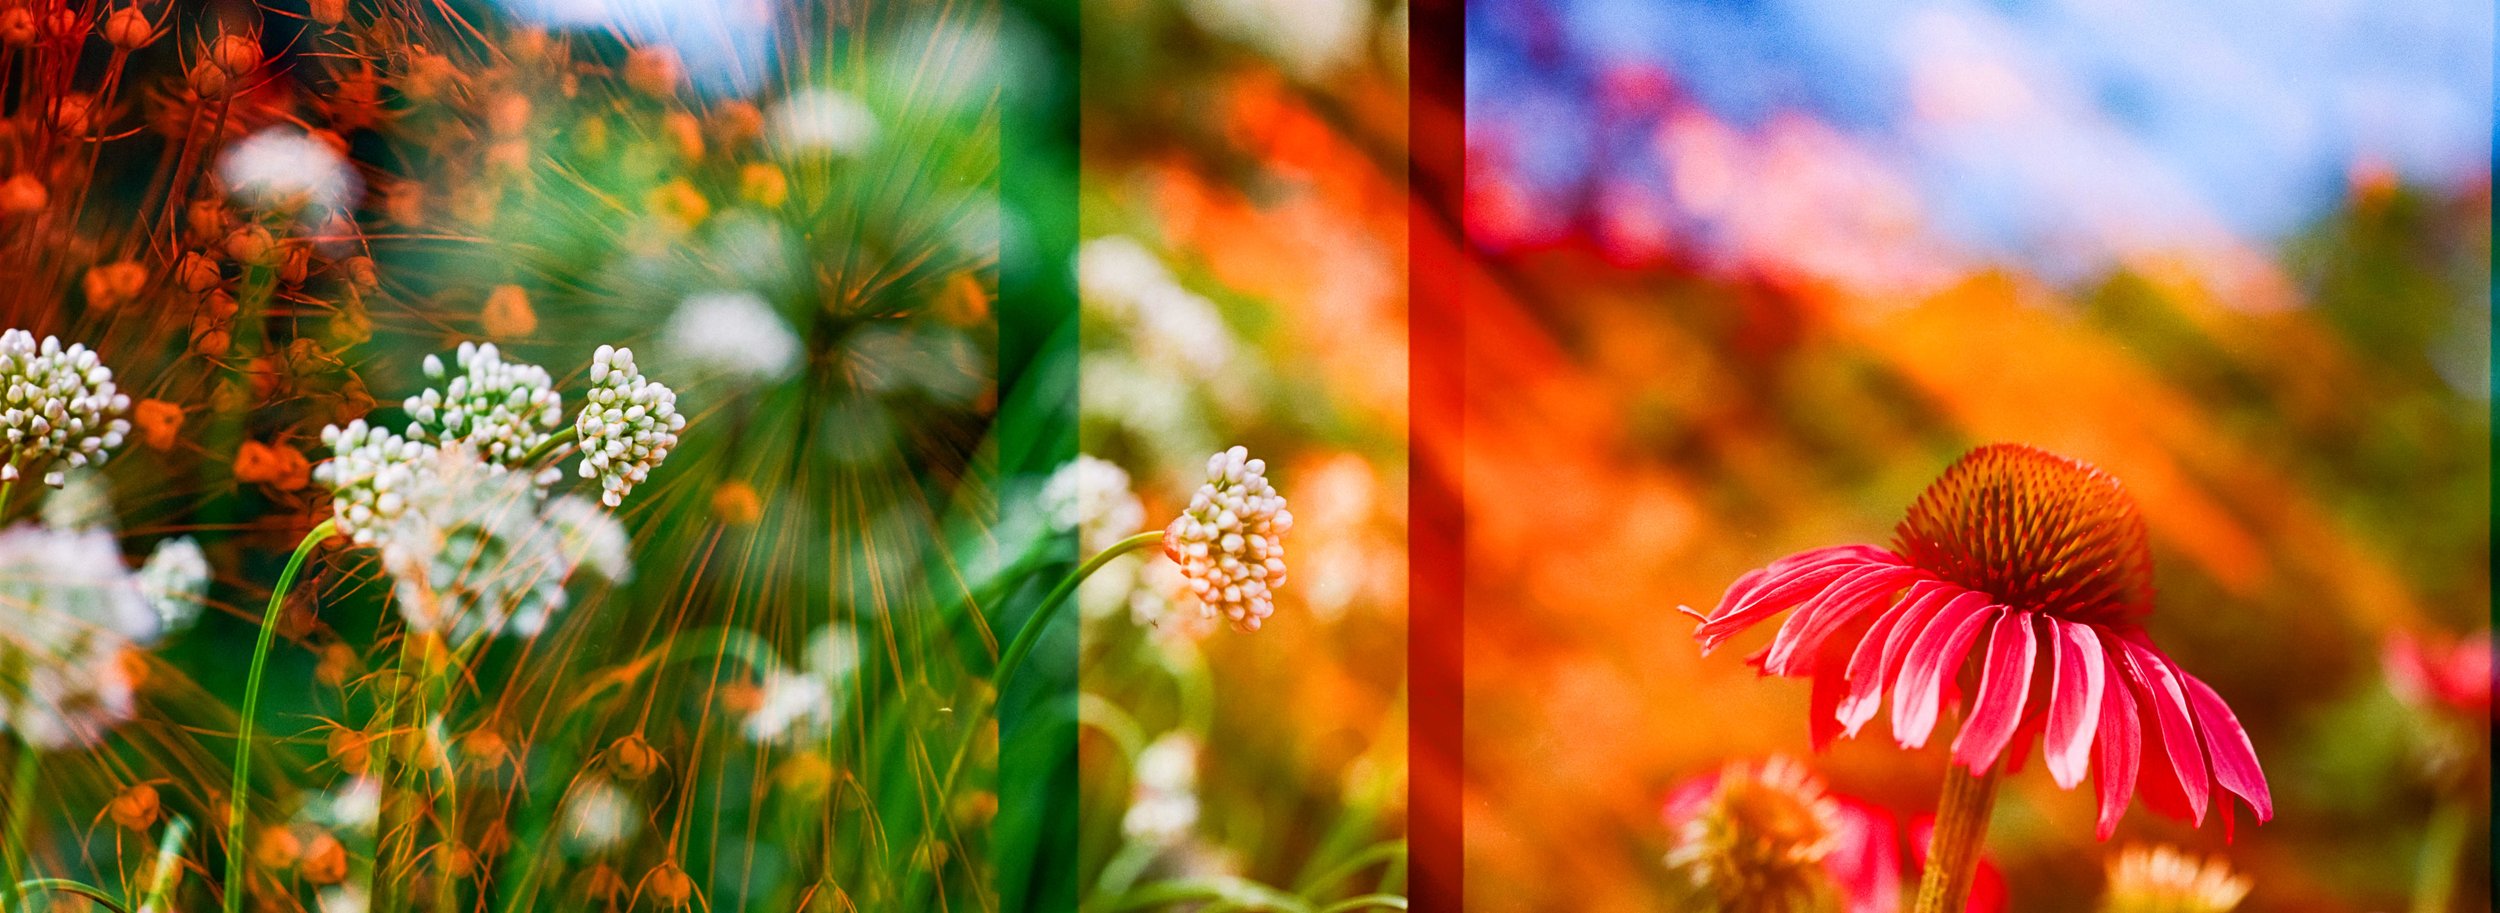
Nikon FE | Portra 400 | EBS