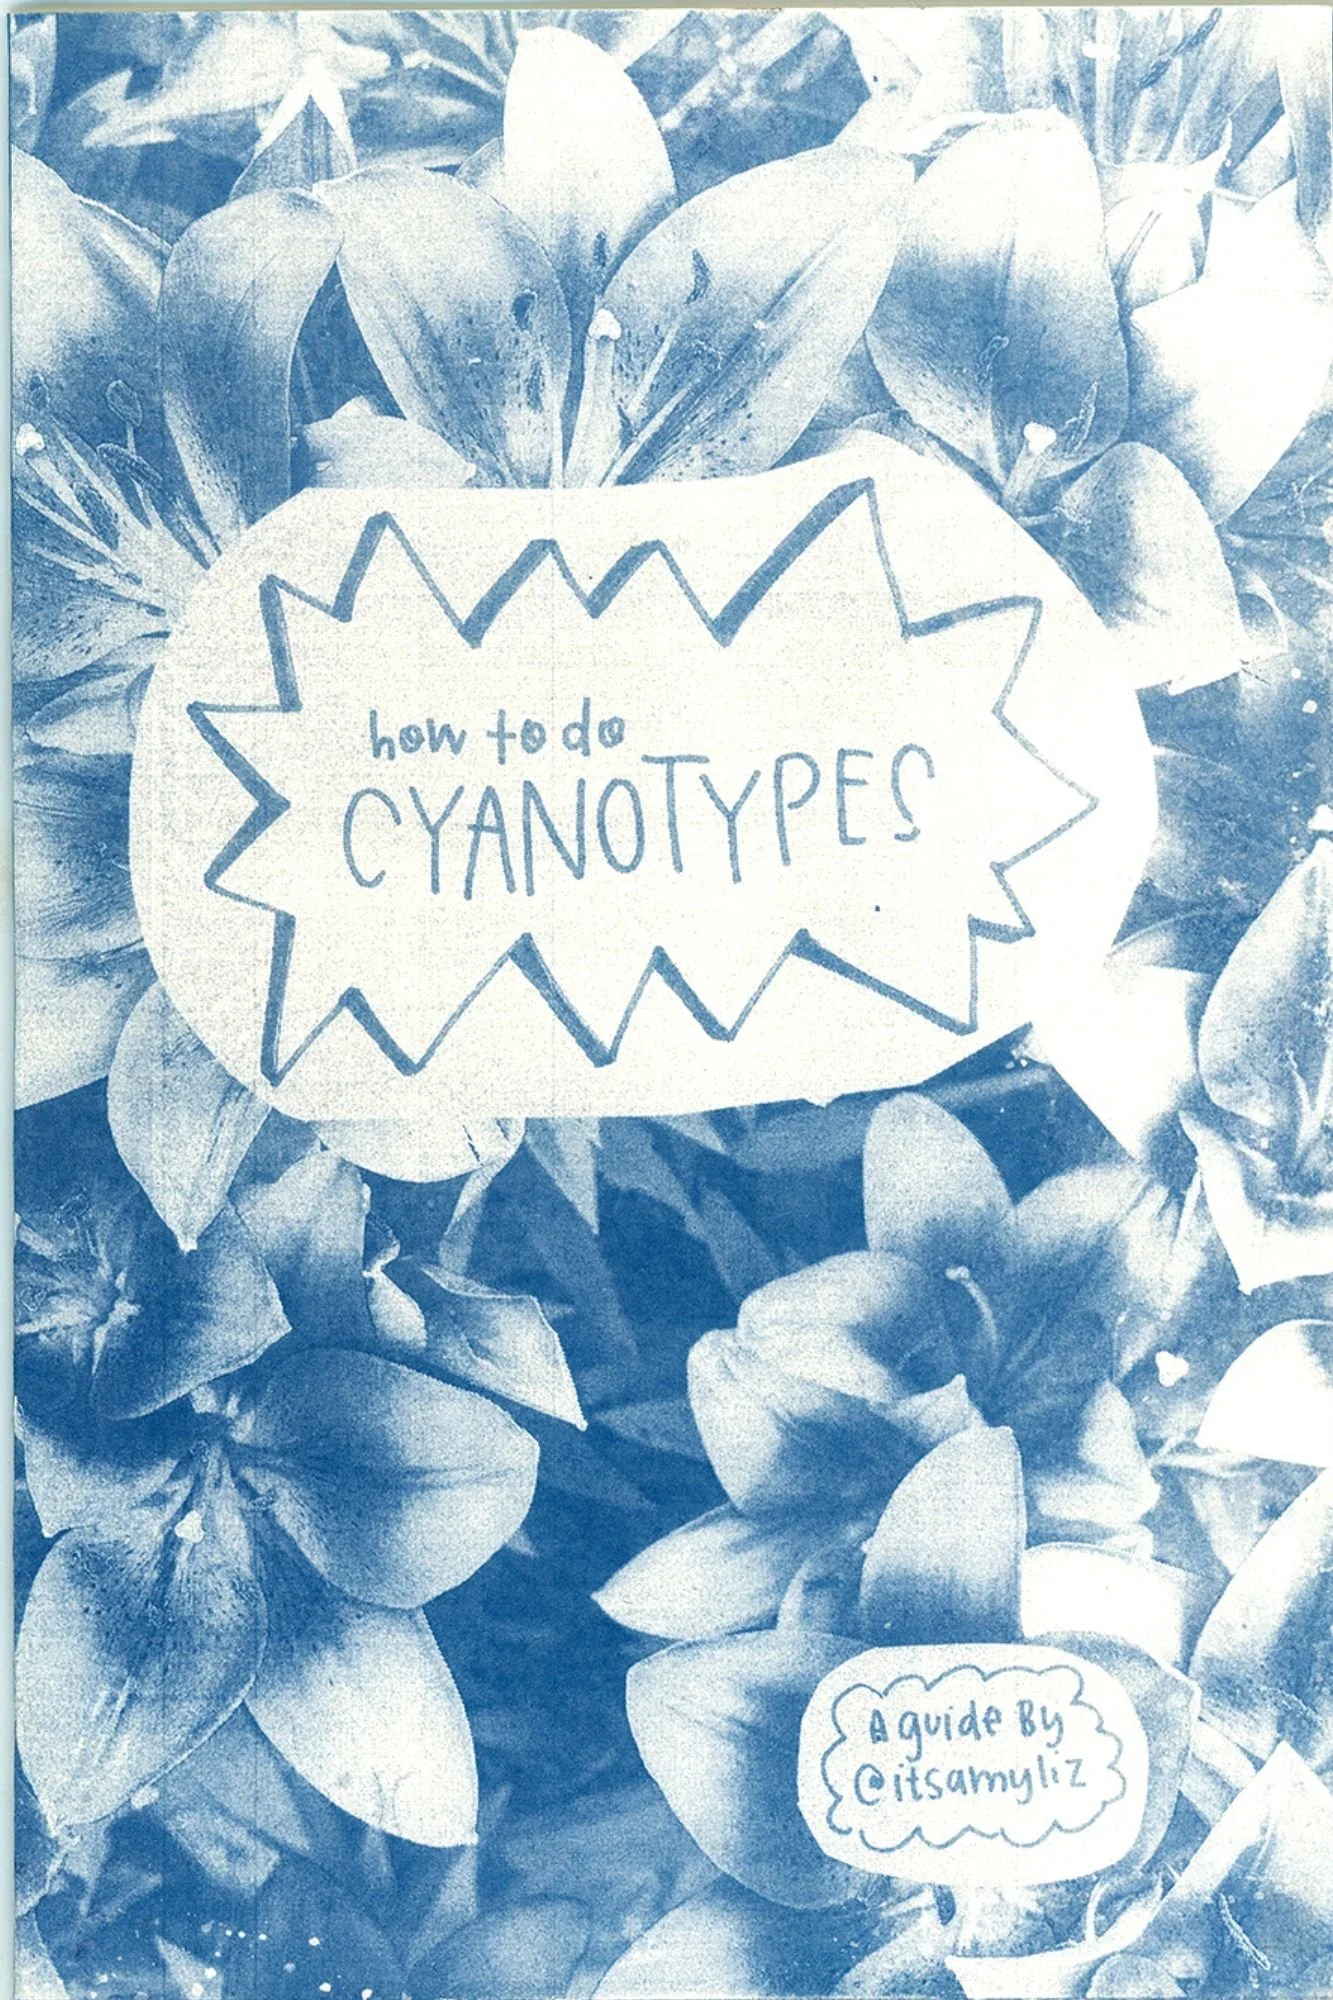
How-to: Cyanotypes
When I started a journal back up last December, the intention was to house musings, tutorials, and just general things I’m working on. I’m sure there would be people who would warn against using it for too many purposes, but it’s my journal and I do what I want. Ultimately, it’s all a sharing of myself, which will inherently be consistently inconsistent. So it tracks.
This is my very first tutorial post, and I’m just so, so excited to share this process. 2023 is going to be the year of more tangible art for me, so cyanotypes will inevitably be in the mix.
First off, what is a cyanotype?

When people ask me what cyanotypes are, I typically start off by saying “remember when you were a kid and you had Sunprints and you’d stick leaves on it and stuff and put it out in the sun and get a blue result???”
I think I’ve had one person tell me they remember doing Sunprints as a kid, so I stop equating it to that process. But they were truly my first exposure (pun unintended, but always appreciated) to cyanotypes, even if I didn’t know the official name at the time.

image from amazon—aaaah the memories
So for those of you who didn’t grow up on Sunprints, a cyanotype is one of the oldest photographic print-making processes around. You can usually tell a print is a cyanotype because of its distinctive Prussian blue results. But cyanotypes can also be toned (which we will talk about in a later post), in which case they are rendered more in the brown, grey, and olive spectrums.
Cyanotypes are a contact print making process. This means unlike an enlarger (which literally makes images larger and has focusing capabilities), the image goes directly on the paper. So the size of the original image is the size of the result.
I love cyanotypes because they are easy and affordable. You don’t need a dedicated darkroom. And they’re also a great project to do with kids.

Okay, but look at the texture on that watercolor paper….

Take out the guesswork so you can focus on empowering yourself
Download your free copy here.
What do I need?
(Visit my Amazon Storefront for links to all these supplies!)
An image or a subject
Gather florals, keys, glasses, or anything that you want to play with!
Alternatively, you can use photographic images. Since this is a contact print process, and I don’t want my result to be the same size as a 35mm or 120 negative, I first create a larger negative and print it on a transparency. If you don’t have a printer at home, you can also get this done at most places that offer copy services like FedEx.
Paper
I use 100% cotton watercolor paper, because it needs to be able to withstand a lot of water. But you can even use other mediums such as cloth or wood.
A paintbrush
Any sort of paintbrush will do. I use wider ones for efficiency’s sake. You just need a way to get your working solution onto the paper.
Water
Distilled water is preferred, but you can also use tap water.
Or some way to measure smaller amounts of liquid. I just use the beakers I have for film development.
Bottles to store your chemicals
NOTE: If you buy the Jaquard cyanotype kit, then you don’t need to buy the chemicals (#4, #5 on the list), the kitchen scale (#8), or the bottles (#9)
A contact print frame or picture frame and clamps/clips
I recently bought a used one, but before that I just used the glass and backing from an old frame. I then used binder clips to keep it all tight. You just want to make sure the negative is as snug against the paper as possible.
A UV light source
I made the investment in a UV light, but the sun works perfectly fine.

I ended up printing this as a positive so I’d get a blue sky. You do you.
What is the process?
Click on the image to access a quick reference PDF of the process! It’s a cyanotype tutorial made from cyanotypes :)
If you’re using a photographic image, create your negative
The first thing I do is create my negative. The negative is going to dictate everything from the size of the paper to how I decide to paint on the solution.
I turn my image into a monochromatic negative in Photoshop (Adjustments>Invert), but you can also do this in Lightroom by flipping the curve.

Notice the curve on the right. I dragged the blacks to white and the whites to black to achieve a negative.
I then edit the negative to ensure I have a good range of tones. I do not look at the positive when doing this, only the negative; it’s much more indicative of what you’ll get for the final result.
I print it out on my transparency paper at the size I know I’ll want for my final print. (Photoshop is helpful in this area too since I can create a canvas and frame at the exact specifications I need.

example of a negative and its resulting positive
If you’re using a different subject, you will arrange it directly onto your paper once it’s coated and dry.
Mix your solution
***These next steps need to be done in a room without sunlight. Sunlight will kickstart the process of the chemicals, but overhead lights won’t. I do this process in my basement.***
Also, be careful as these solutions will stain fabric.
Using your kitchen scale to measure, pour out 25g of the ferric ammonium citrate powder into a container. Then measure 100mL of your water, and mix the two.
Measure out 10g of the potassium ferricyanide and mix this in a separate container with 100mL of water.
These two solutions will keep for a few months if stored in separate, opaque containers. I keep them in my chemical fridge to extend their life.
Once you mix them together, the working solution will keep for a couple days if stored in a dark, cool space.
To make the working solution, simply mix an equal amount of the two solutions. A little goes a long way, so I just mix a bit at a time.
Paint your solution onto the medium
***Done in a space without sunlight.***
This is where the science of cyanotypes meets the art of cyanotypes. Wherever you paint the solution is a spot where your image will show. You can paint the whole surface of the paper, or mark out the area your image will land (very lightly with pencil!) and keep all the brush strokes inside, leaving a more raw edge. You can really paint anything you want, so use this opportunity to think outside of the box!

I clearly did NOT think outside of the box.
Allow your paper to dry
***Done in a space without sunlight.***
I hang my paper up in my basement office. There’s an egress window down there that I just cover up with a dark blanket. It’s not sun-proof, but not enough UV light to affect anything. Depending on the temperature and humidity level, it will take around an hour to fully dry, and it neeeeeeeds to be fully dry before using.
Frame it all up
***Done in a space without sunlight.***
Grab your contact print frame or picture frame or whatever set-up you’re going to use. Put your negative on top of the painted side of the paper, making sure it all aligns. Place it all into the frame and make sure it’s clamped tightly. I have also used washi tape to secure the corners onto the back of the frame. (Just make sure it’s not going over anything painted, or else it’ll show up in your final image as a block of white amidst the blue.)

Yes yes yes. I have a fancy contact print frame. Sorry to flaunt it in your face.
Expose it!
This is the part where you finally get to expose your art to the sun! (Or UV light!)
The exposure time will vary if you’re using the sun…the higher the UV index, the less time it will take. When using a photographic negative, I’ve exposed my print for as few as 4 minutes with UV index of 9 and over 30 minutes with a UV index of 1.
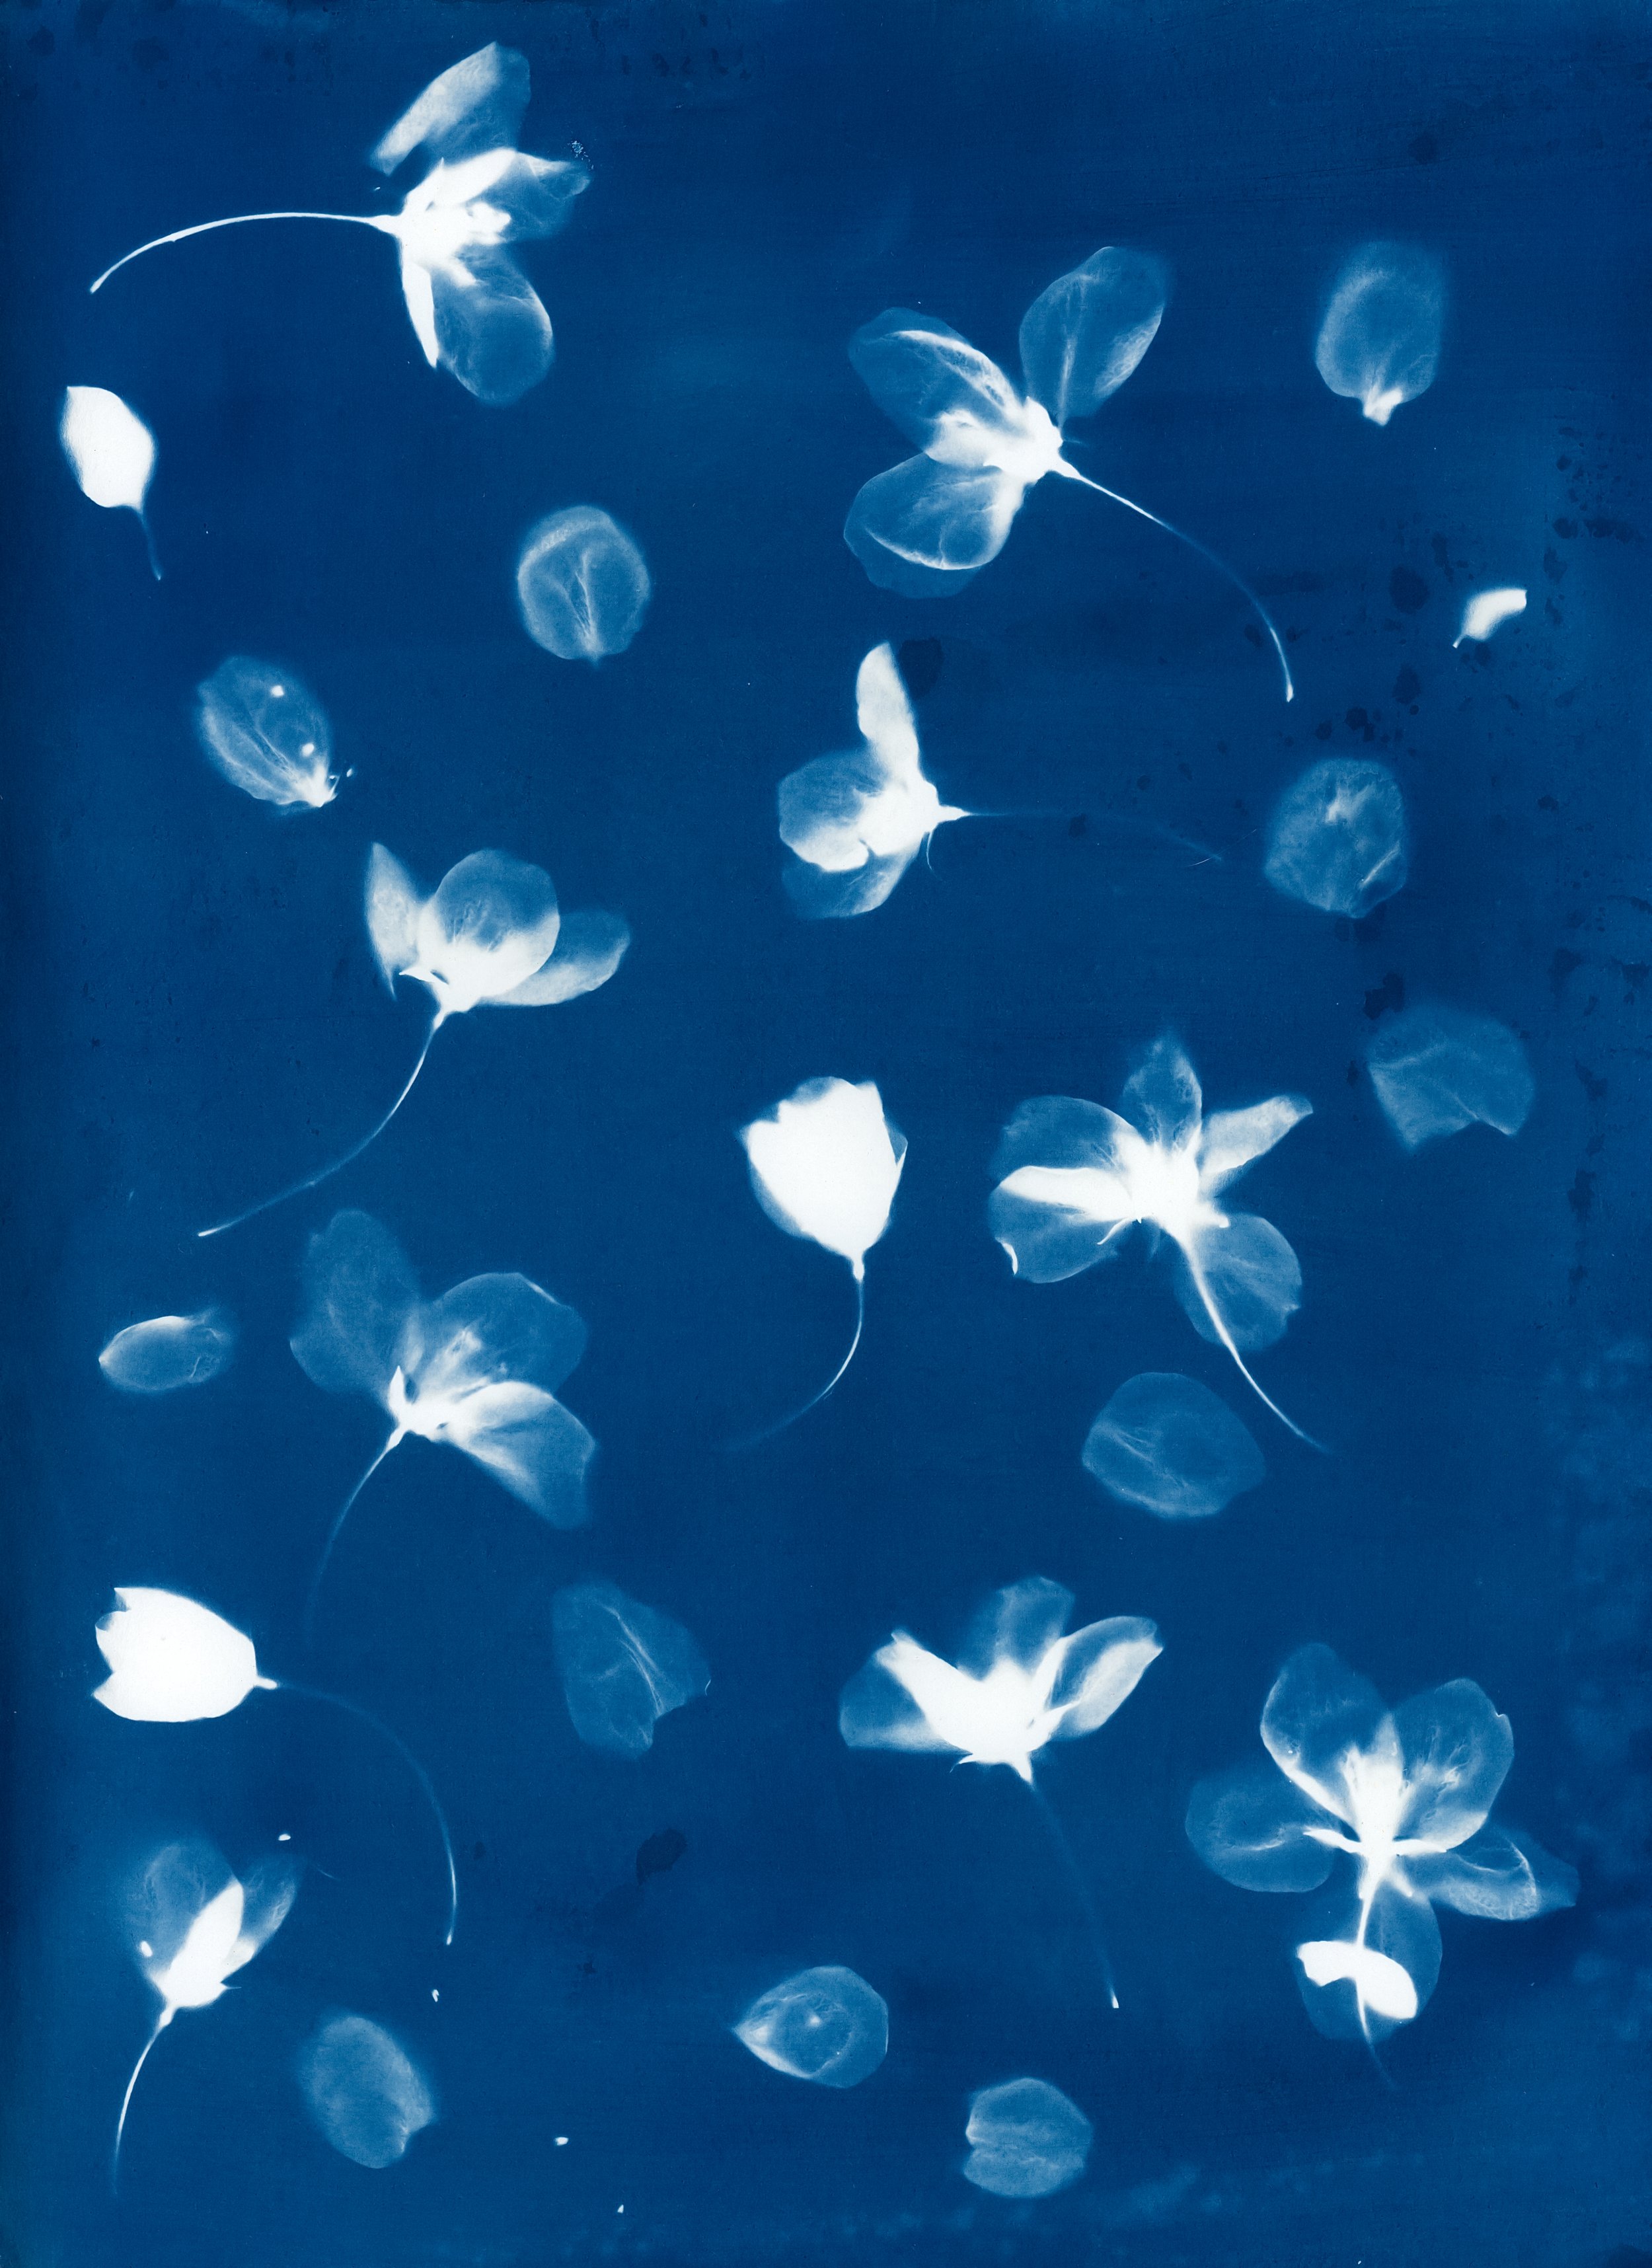
If I’m exposing something like florals, I will often leave my print out for over an hour if the UV is moderate.
I watch the print, because it will darken up and get a bit bluer and then get a little duller and greener. That’s when I remove it from the sunlight. But it also depends on personal preference, so experiment with this part and you will surely find a method that works for you.

Images after being exposed, but before getting rinsed.
Rinse the print to develop
Bring the whole situation back inside, into subdued light so it doesn’t keep exposing. Remove your paper and rinse it for about 10 minutes. I actively run water over it until most of the visible solution is gone and then I place in a tray of fresh water and agitate for the rest of the time.

Don’t let your prints overlap while rinsing. I’m careless.
Hang to dry
Now that the chemical mixture is rinsed off your print, it can happily live in the light of day. Hang your print to dry wherever you see fit and you’re good to go!


Have you enjoyed this tutorial or other posts? Let me know by buying me a coffee or writing a kind note!

We must bless and release to keep moving